
STM32F7508-DK Evaluation Kit
During this Getting Started, you will learn to:
run an Application on the STM32F7508-DK Evaluation Kit Virtual Device,
run the same Application on your STM32F7508-DK Evaluation Kit.
In case you are not familiar with MicroEJ, please visit Discover MicroEJ to understand the principles of our technology.
Prerequisites
Note
This Getting Started has been tested on Windows 10. Also note that examples used in this Getting Started could depend on older tools and libraries. Most notably our dependency manager plugin (using Gradle) could be an older version.
This Getting Started is separated in two main parts.
The first part consists of running an MVC demo application on the Virtual Device. All you need is:
An Internet connection to access Github repositories & Module Repositories.
MICROEJ SDK 6 (installed during Environment Setup).
The Example-Foundation-Libraries samples at GitHub. Download or clone the project here.
The second part consists of running the same demo application on your device. For that you will need:
STM32F7508-DK Evaluation Kit, available here.
You will be guided on how to install STM32CubeIDE later.
Environment Setup
To follow this Getting Started, you need to:
Install MICROEJ SDK 6.
Get the Example-Foundation-Libraries from GitHub.
Install MICROEJ SDK 6
Install MICROEJ SDK 6 by following Installation instructions. Android Studio Hedgehog is used on this Getting Started but feel free to use your favorite IDE.
Set up the Application on your IDE
Import the Project
The first step is to import the Application into your IDE:
Note
If you are using an IDE other than Android Studio, please have a look at Import a Project section.
If you are in the Welcome Screen, click on the Open button. Otherwise click either on File > Open….
Select the
Example-Foundation-Librariesdirectory located where you downloaded it and click on the OK button.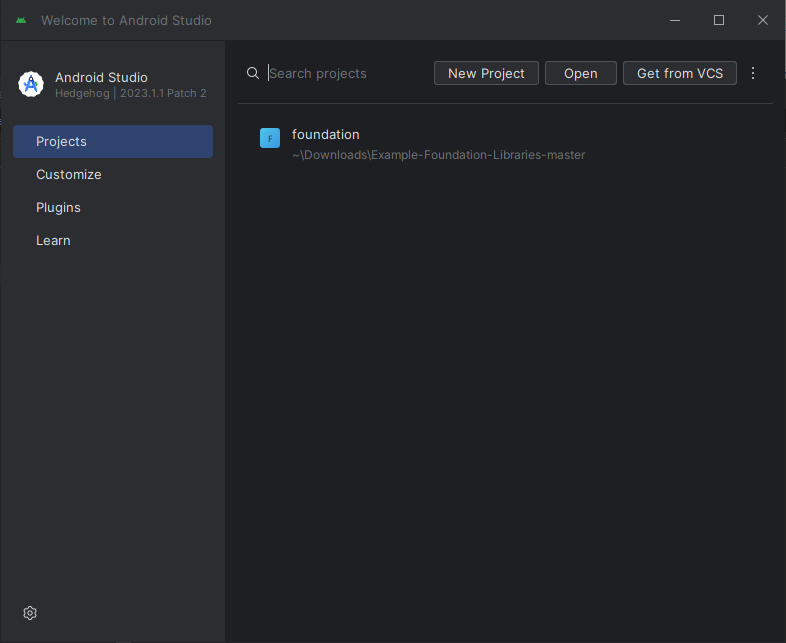
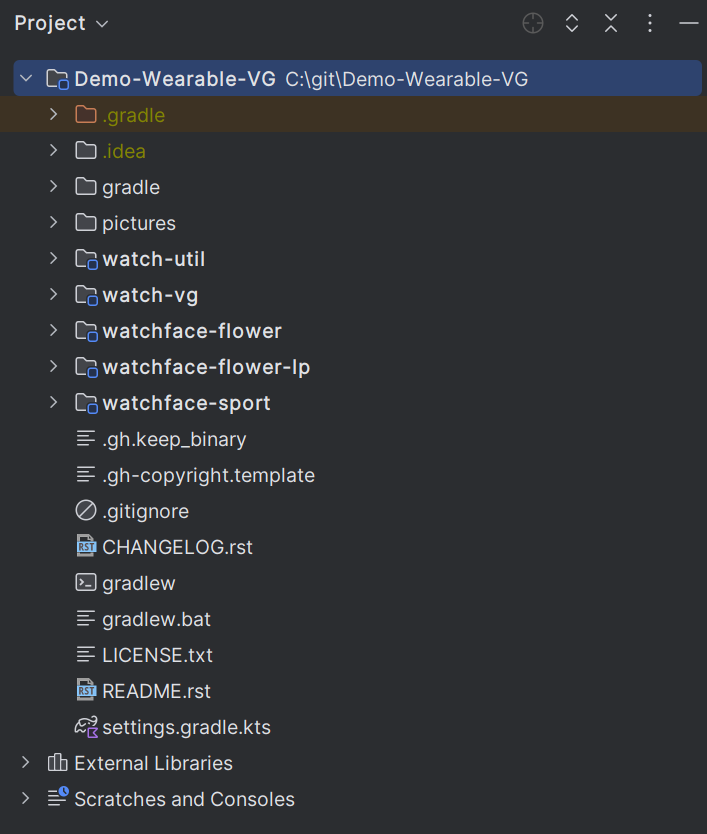
The Gradle project should now be imported in Android Studio, your workspace contains the following project in the Projects view:
Select the VEE Port
For this getting started, we will use the STM32F7508 VEE Port demo module that is available on the Developer Repository.
Open the microui.mvc/build.gradle.kts Gradle build file, replace the VEE dependency microejVEE with the STM32F7508 VEE Port, like this:
dependencies {
   microejVee("com.microej.veeport.st.stm32f7508-dk:M5QNX_eval:2.3.0")
}
For more information about how to select a VEE Port please refer to the following section: Select a VEE Port.
Accept the MICROEJ SDK EULA
You may have to accept the SDK EULA if you haven’t already done it, please have a look at SDK EULA Acceptation.
Run an Application on the Virtual Device
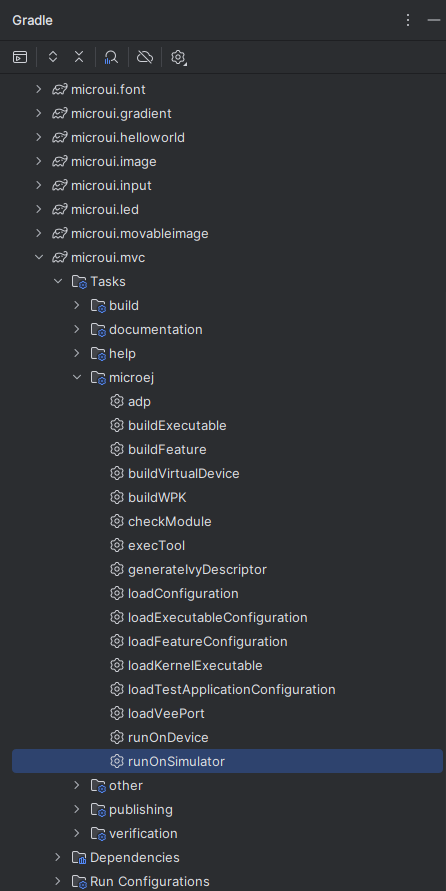
We will be using the microui.mvc Application as the sample to test the VEE port simulation execution (you can choose another example it’ll work similarly). In order to execute the microui.mvc Application on the Virtual Device, the SDK provides the Gradle runOnSimulator task.
Note
If you are using an IDE other than Android Studio, please have a look at Run on Simulator section.
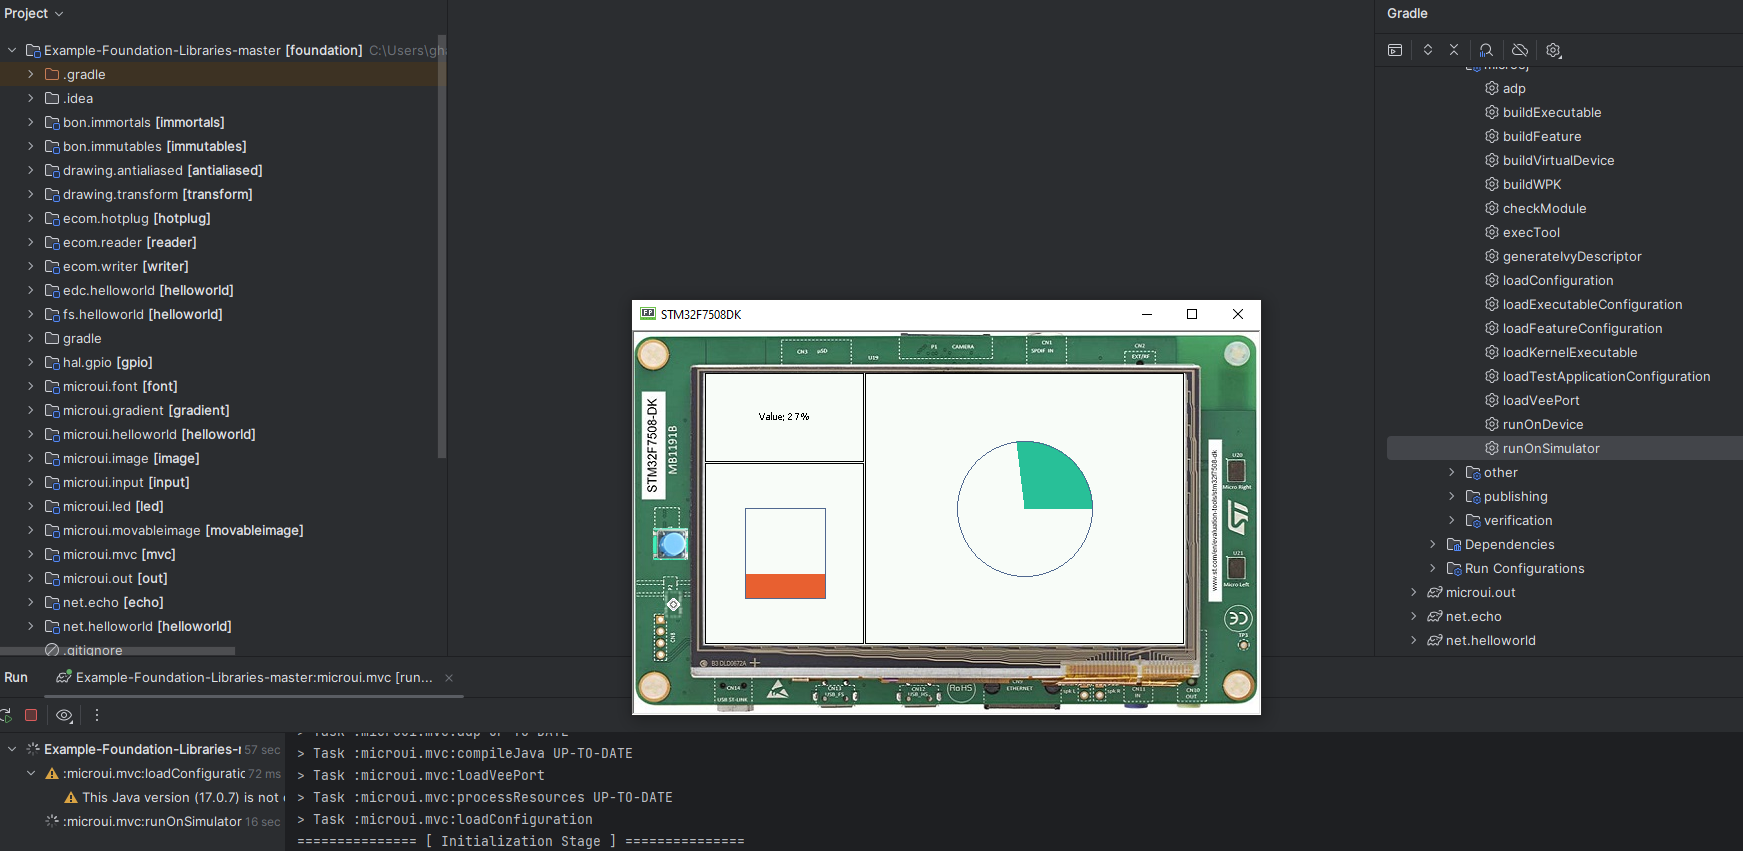
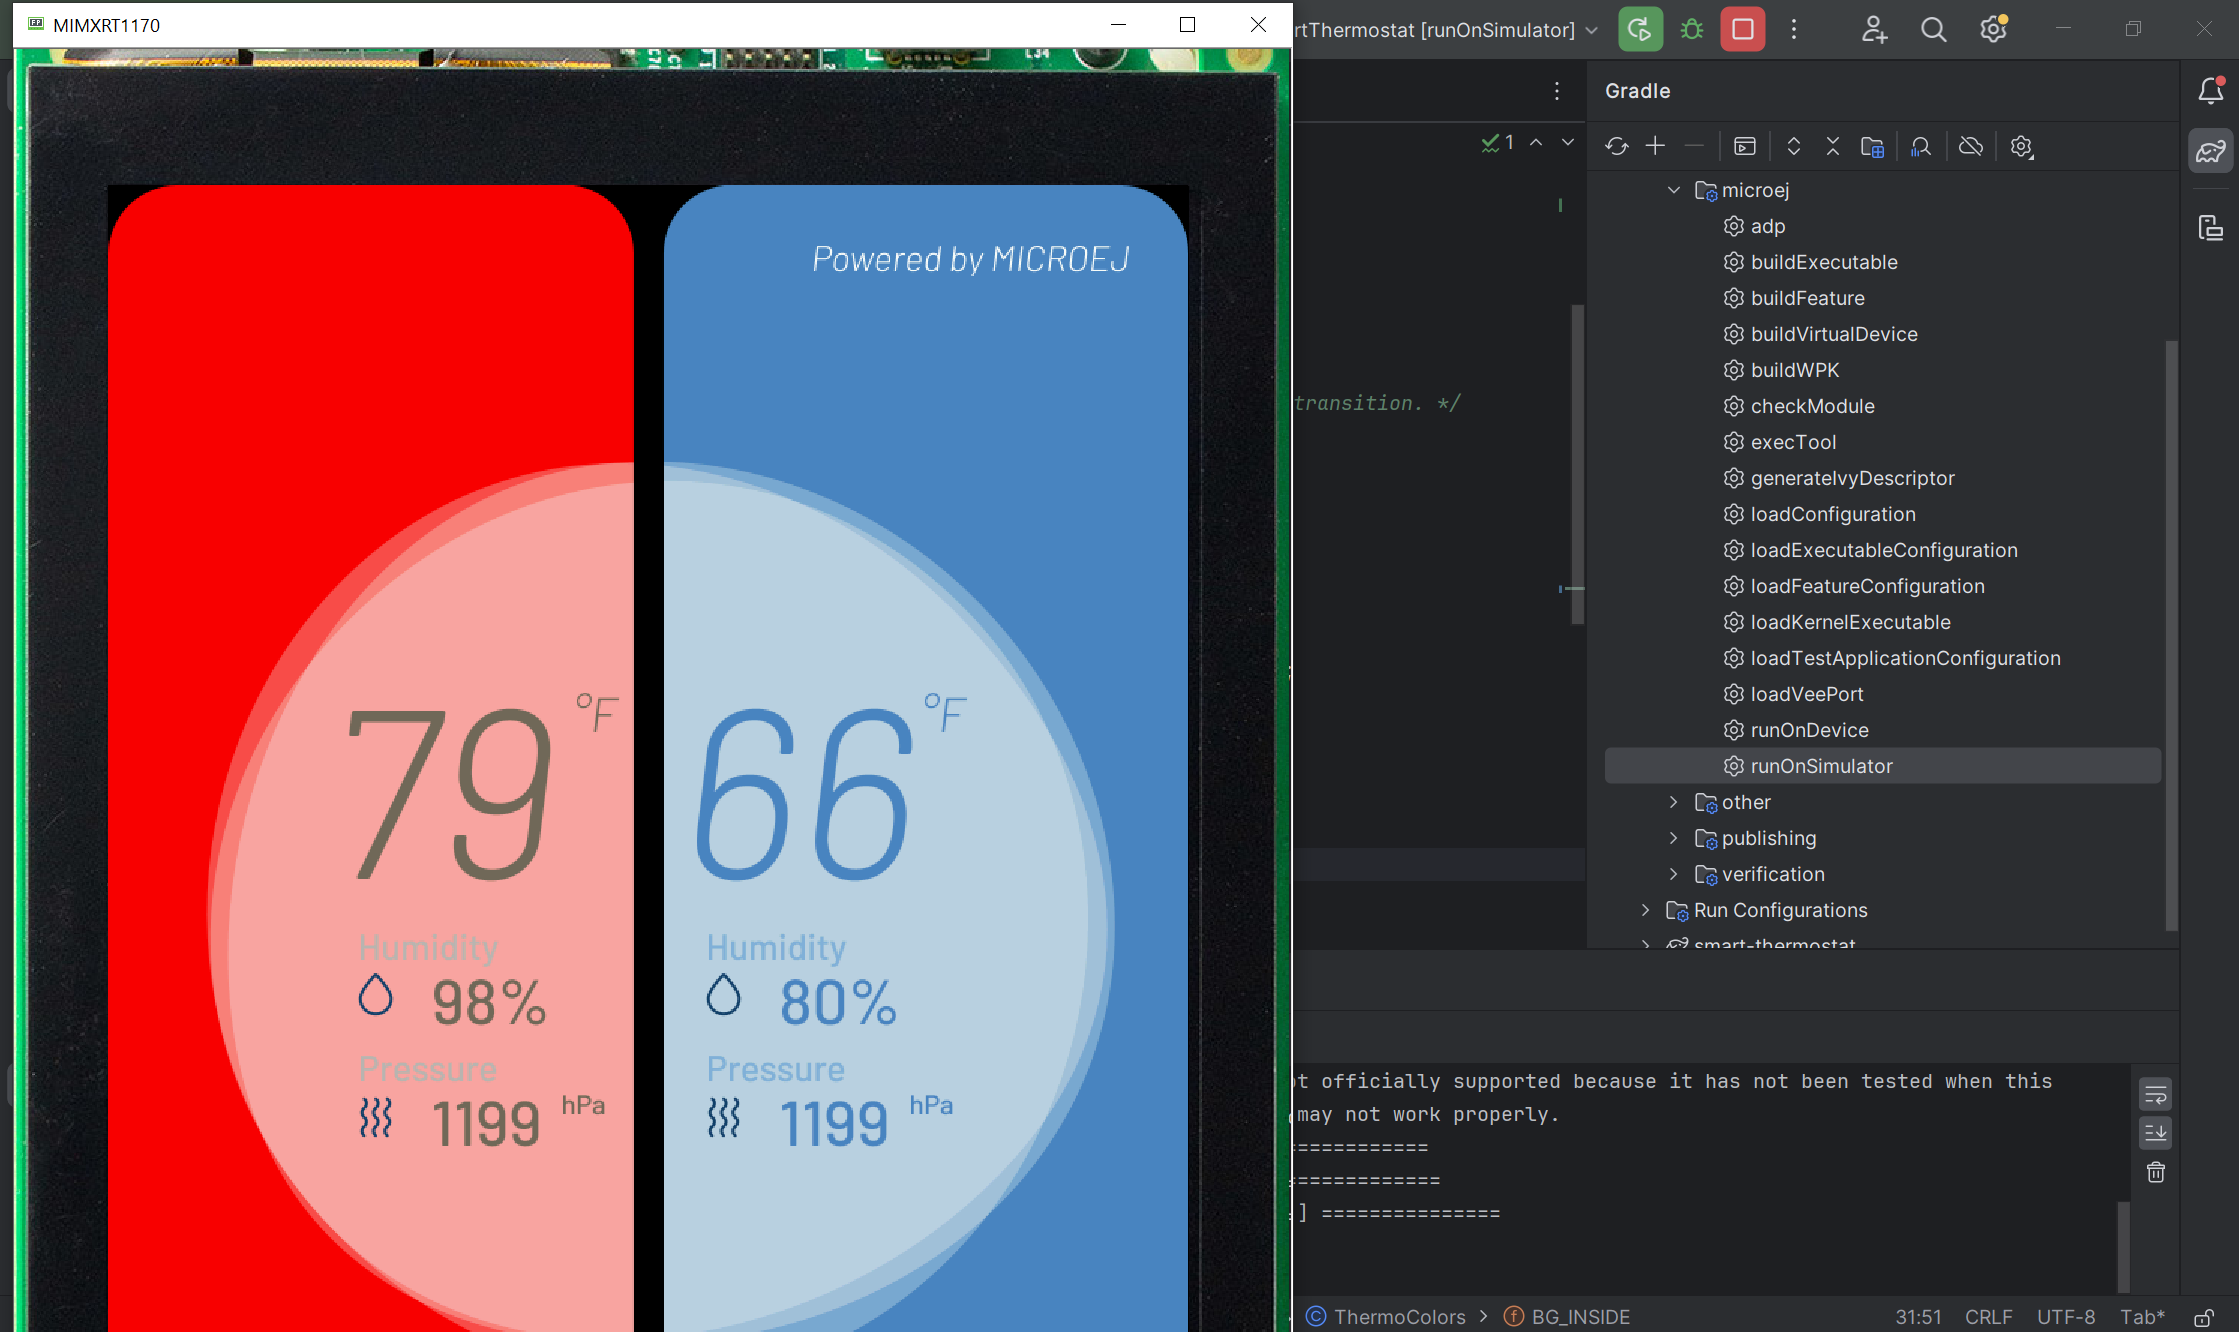
Double-click on the runOnSimulator task in the Gradle tasks view. It may take a few seconds.
The Virtual Device starts and executes the microui.mvc application.

Well Done!
Now you know how to run an application on a Virtual Device.
If you want to learn how to run an application on your STM32F7508-DK Evaluation Kit, you can continue this Getting Started: Run an Application on STM32F7508-DK Evaluation Kit.
Otherwise, learn how to Modify the Java Application.
Run an Application on STM32F7508-DK Evaluation Kit
To deploy microui.mvc application on your board, you will have to:
Setup your Environment (IDE, flashing-tool, hardware setup).
Request a 30 days Evaluation License and install an activation key.
Build the Executable.
Flash the board.
Environment Setup
This chapter takes approximately one hour and will take you through the steps to set up your board and build the BSP.
Install the STM32CubeIDE software
Please install the following:
The STM32CubeIDE version 1.9.0 for STM32F7508-DK, available here.
The STM32CubeProgrammer utility program, available here.
Be aware that we need the 1.9.0 version of the STM32CubeIDE, also please install the IDE and programmer to the default installation folders, it will simplify future steps.
Hardware Setup
Check the jumpers configuration on JP1, you only want the 5V link jumper to be bridged.
Connect the micro-USB cable to CN14 to power the board.
The USB connection is used as a serial link, a ST-Link probe, and a power input for the board all at once.
The COM port uses the following parameters:
Baudrate |
Data bits |
Parity bits |
Stop bits |
Flow control |
|---|---|---|---|---|
115200 |
8 |
None |
1 |
None |
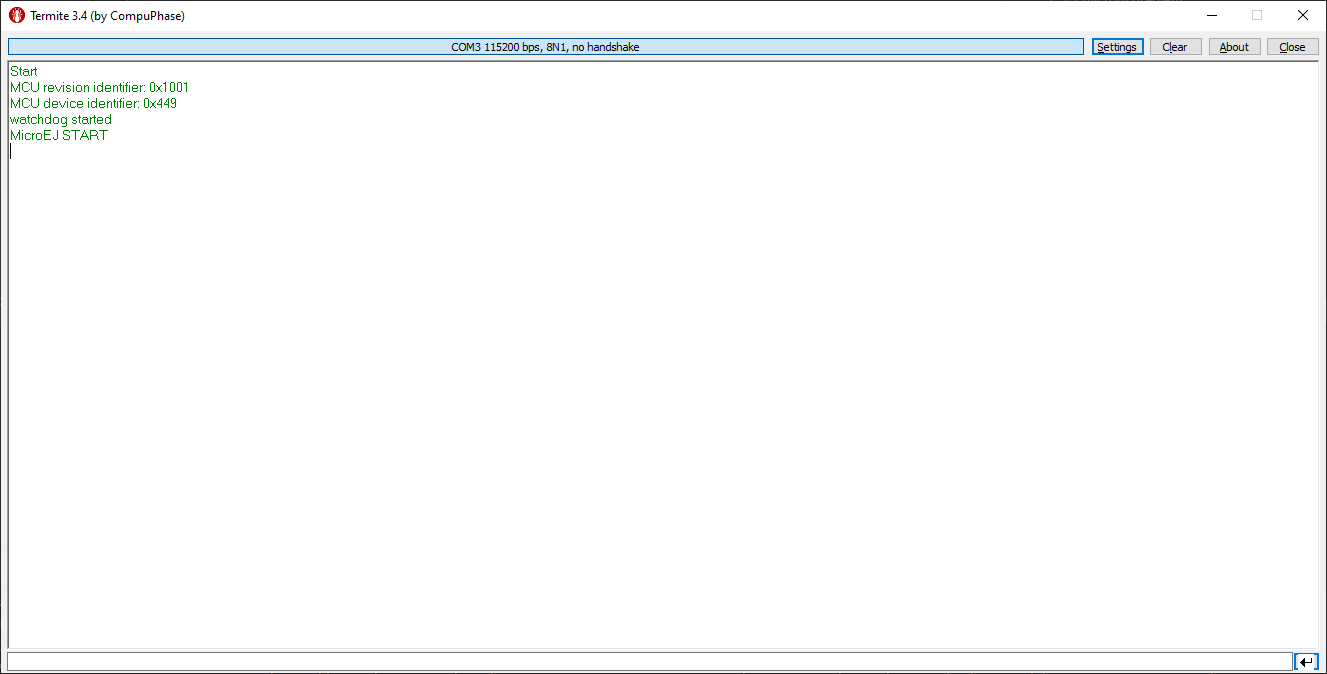
You can have a look at your application logs with an RS232 Terminal (e.g. Termite).
Congratulations! You have finished the setup of your environment. You are now ready to discover how to build and flash a MicroEJ application.
Build the Executable for the STM32F7508-DK Evaluation Kit
In order to build the Executable of the microui.mvc Application, the SDK provides the buildExecutable Gradle task.
Note
If you are using an IDE other than Android Studio, please have a look at Build an Executable section. Come back on this page if you need to activate an Evaluation License.
Double-click on the buildExecutable task in the Gradle tasks view.
The build stops with a failure.
Go to the top project in the console view and scroll up to get the following error message:
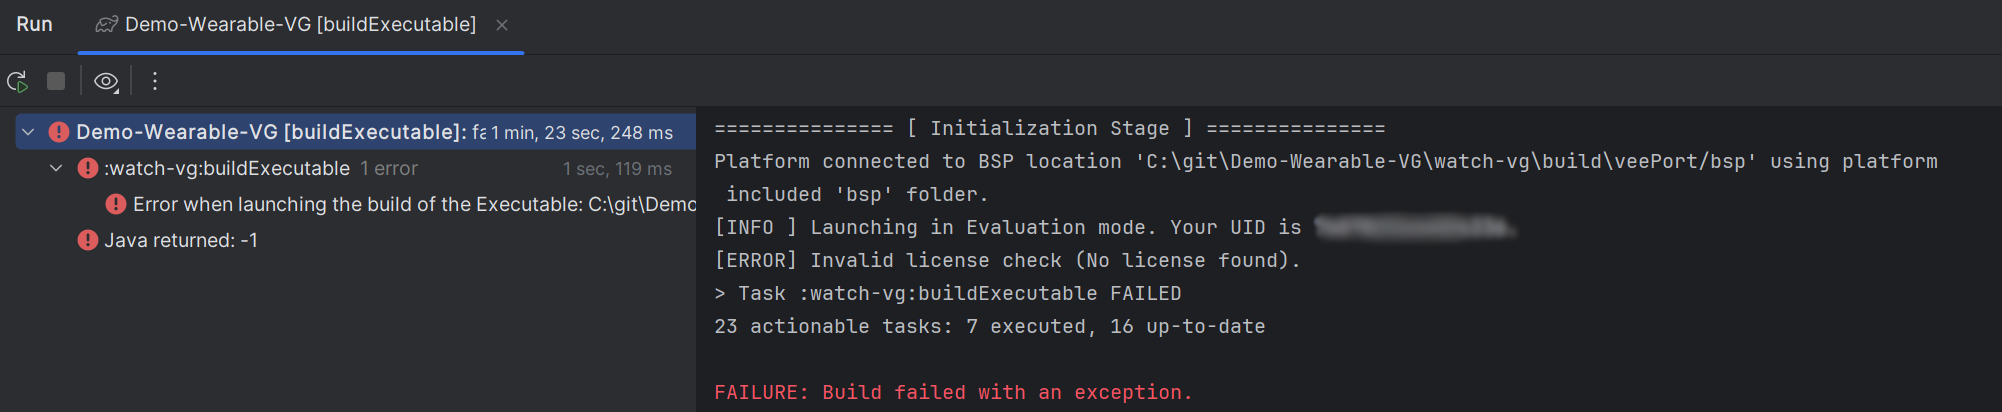
Copy the UID. It will be required to activate your Evaluation license.
Request your Evaluation License:
Request your Evaluation license by following the Request your Activation Key instructions. You will be asked to fill the machine UID field with the UID you copied before.
When you have received your activation key by email, drop it in the license directory by following the Install the License Key instructions (drop the license key zip file to the
~/.microej/licenses/directory).
Now your Evaluation license is installed, you can relaunch your application build by double-clicking on the buildExecutable task in the Gradle tasks view. It may take some time.
The Gradle task deploys the Application in the BSP and then builds the BSP using Make.
The microui.mvc application is built and ready to be flashed on STM32F7508-DK Evaluation Kit once the hardware setup is completed.
Flash the Application on the STM32F7508-DK Evaluation Kit
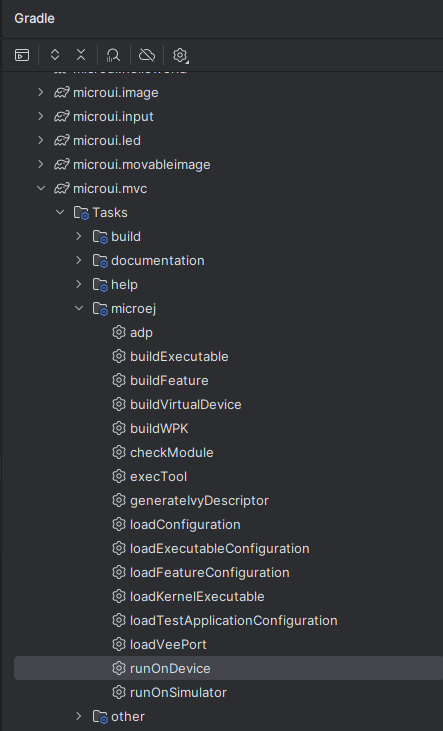
In order to flash the microui.mvc Application on the STM32F7508-DK Evaluation Kit, the application provides the Gradle runOnDevice task.
Note
If you are using an IDE other than Android Studio, please have a look at Run on Device section.
Double-click on the runOnDevice task in the Gradle tasks view. It may take some time.
Once the firmware is flashed, you should see the microui.mvc running on your board.
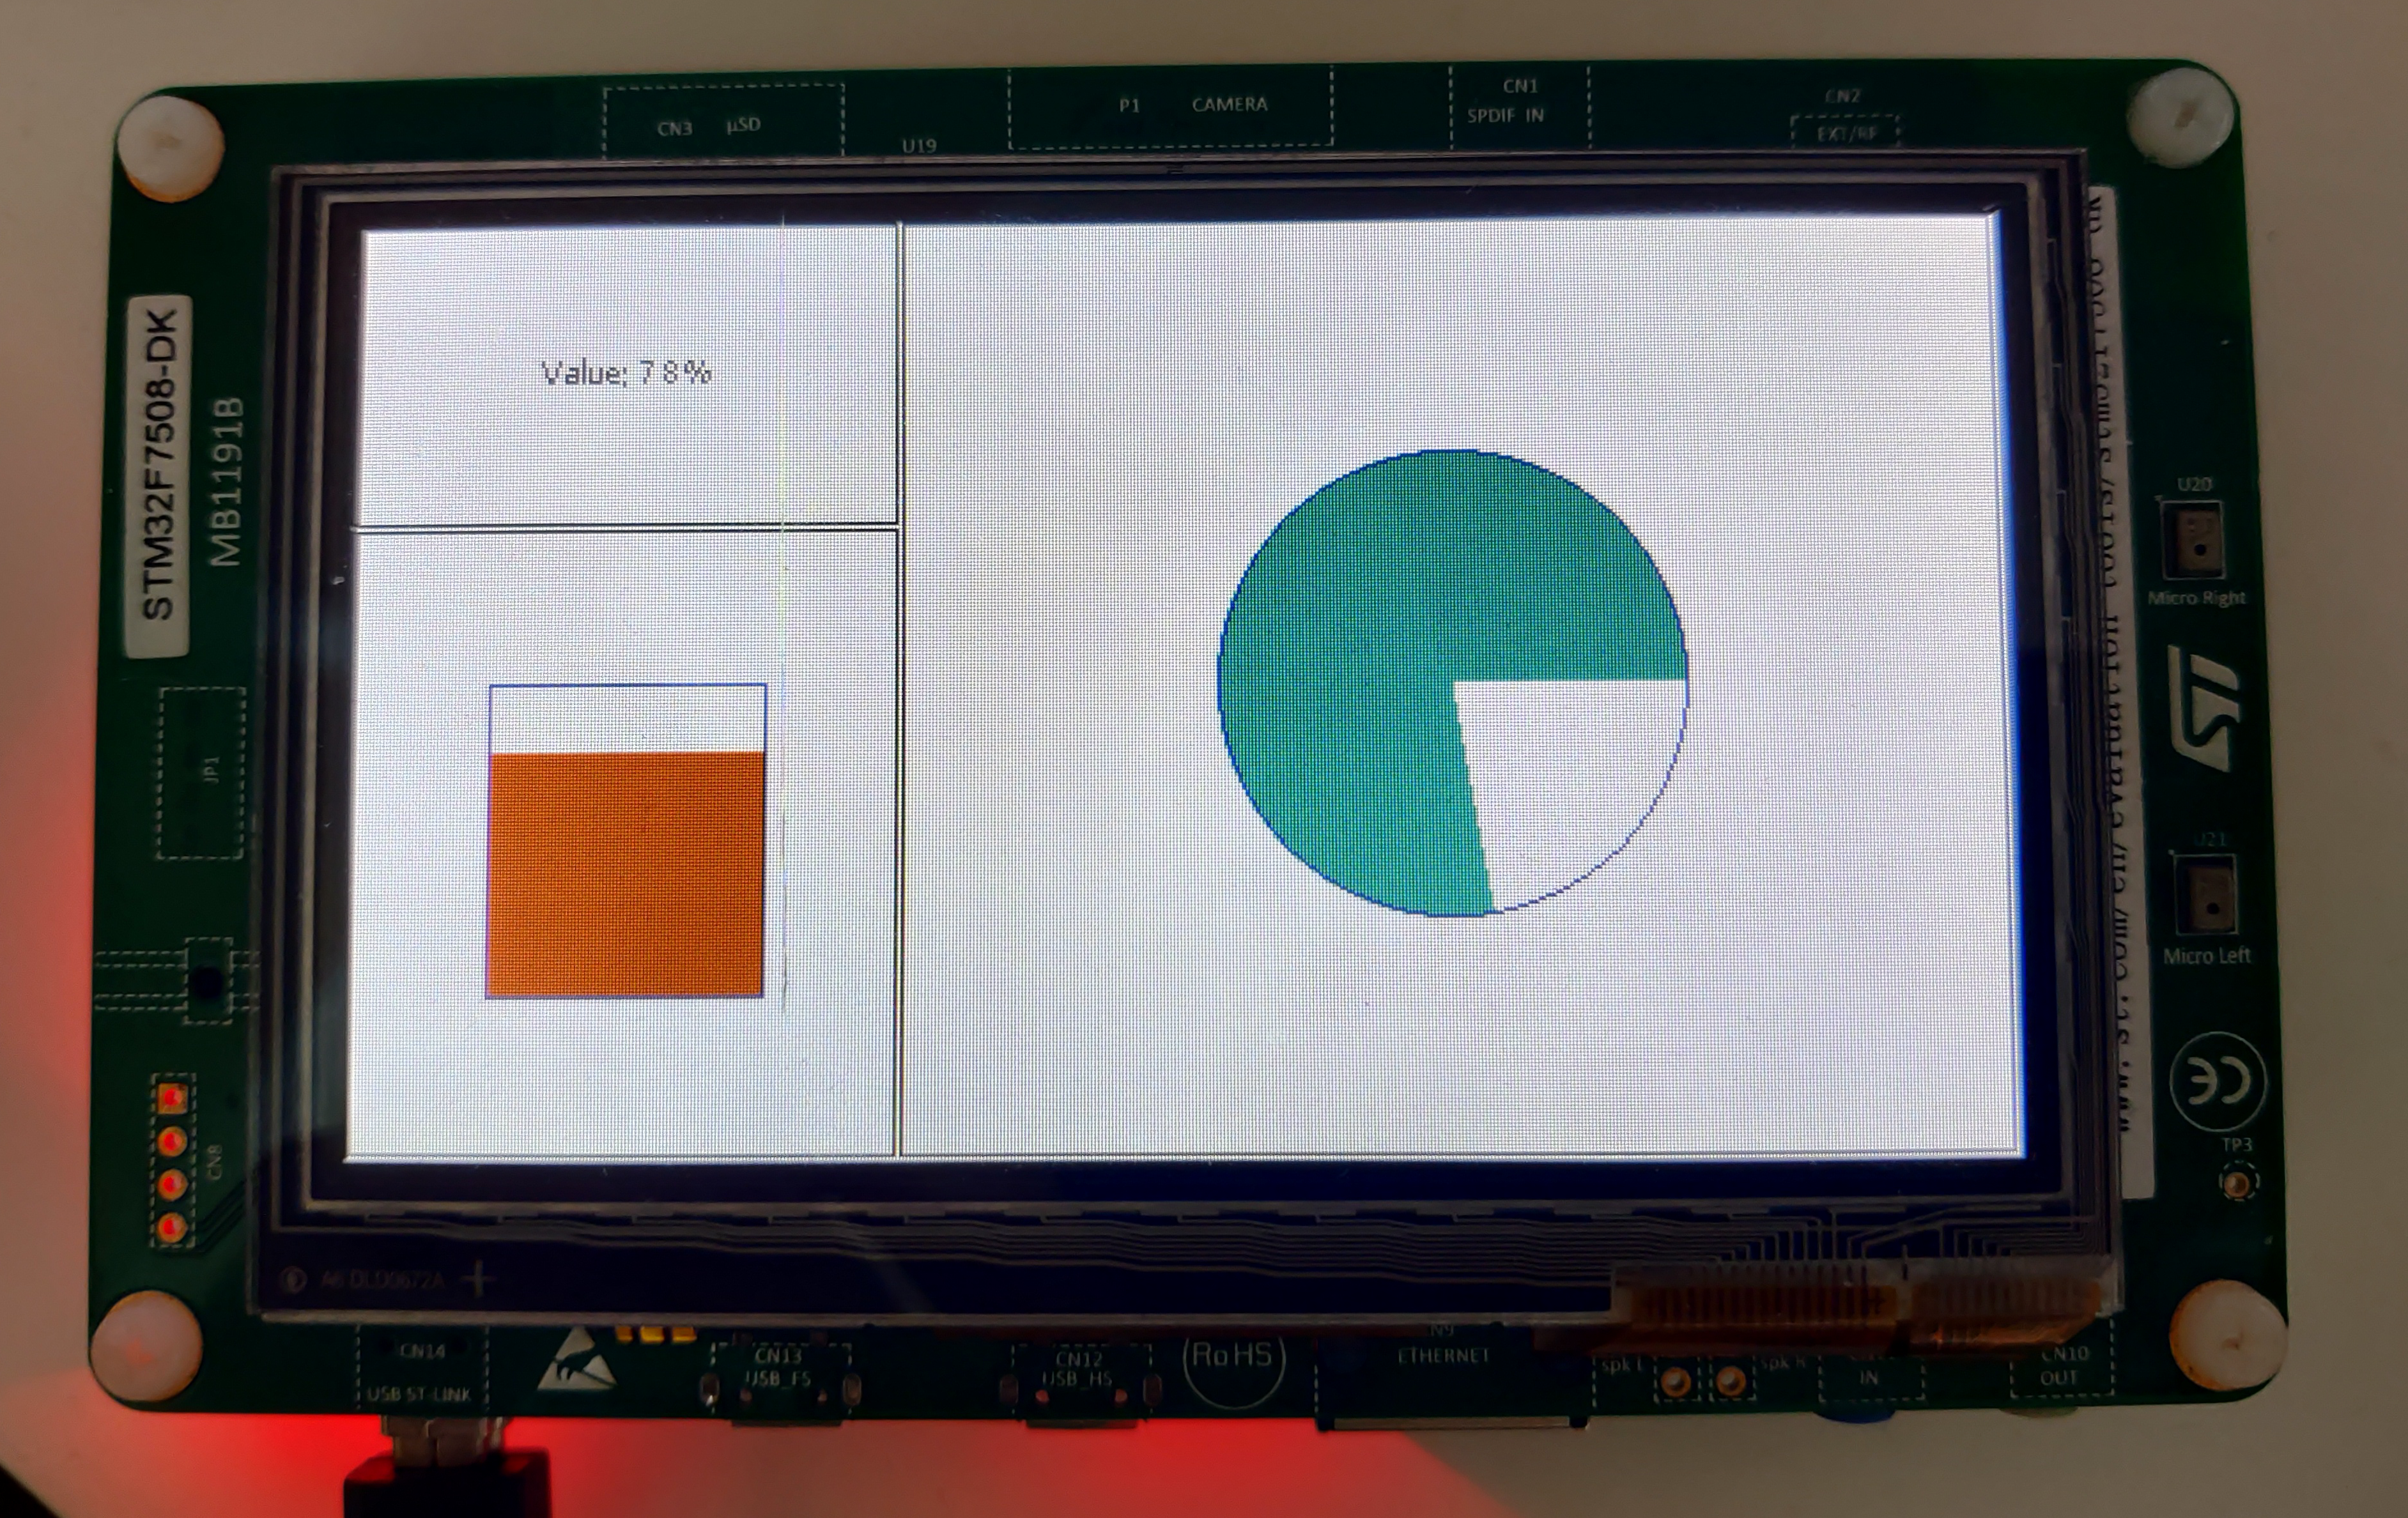
|
|
| Fig 1. Application running on the STM32F7508-DK Evaluation Kit | Fig 2. Application logs on Termite |
Modify the Java Application
With MicroEJ, it is easy to modify and test your Java application on the Virtual Device.
For example, we could modify the color used in the pie chart.
Open the PieView file located in the src/main/java/com/microej/example/foundation/microui/mvc folder.
The pie chart color is set at line 12, replace the following line:
public static final int COLOR_CONTENT = 0x2fc19c; // green
by
public static final int COLOR_CONTENT = 0x800080; // purple
Follow Run an Application on the Virtual Device instructions to launch the modified application on the Virtual Device.
Here is the modified application running in simulation:
Going Further
You have now successfully executed a MicroEJ application on an embedded device so what’s next?
If you are an application developer you can continue to explore MicroEJ’s APIs and functionalities by running and studying our samples at GitHub:
Foundation Libraries |
Eclasspath |
IoT |
This project gathers all the basic examples of the foundation libraries. |
This project gathers all the examples of eclasspath. |
This project gathers simple applications using net libraries. |
You can also learn how to build bigger and better applications by reading our Application Developer Guide.
If you are an embedded engineer you could look at our VEE port examples at GitHub. And to learn how to create custom VEE ports you can read our VEE Porting Guide.
You can also follow the Kernel Developer Guide for more information on our multi-application framework or read about our powerful wearable solution called VEE Wear.
Last but not least you can choose to learn about specific topics by following one of our many Training Courses ranging from how to easily debug application to setting up a Continuous Integration process and a lot of things in between.