Eclipse IDE allows to create custom versions of its distribution.
This can be very convenient if you need to redistribute your own unique Eclipse IDE version, customized to your brand.
This tutorial will guide you through the steps to create such a branded Eclipse IDE.
Right-click on the project, then click on New > Other….
Select Plug-in Development > Product Configuration.
Click on the Next button.
Set a file name, for example eclipse.
Click on the Finish button. The Product configuration file should be created and opened now.
In the Overview tab
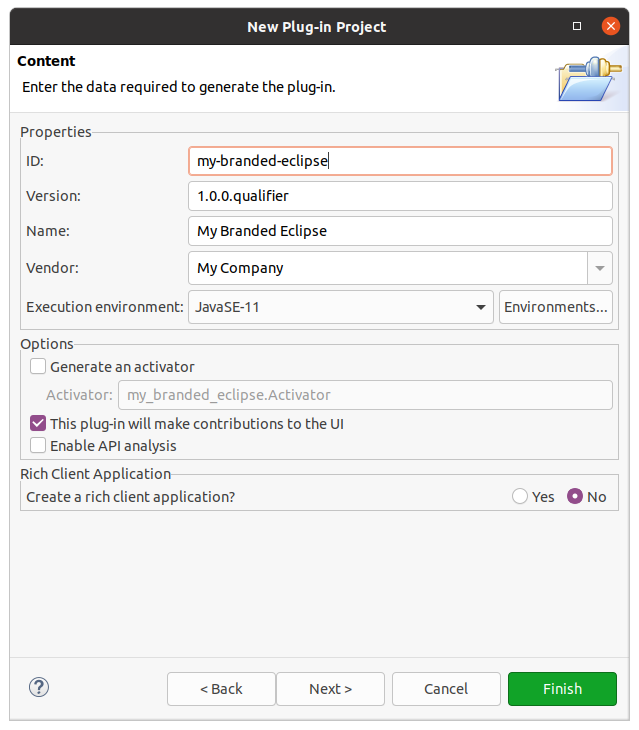
In the Product field, click on New….
Set a value in the Product Name field, for example MyBrandedEclipse.
Select the project in the Defining Plug-in field.
Set a value in the Product ID field, for example product.
In the Application field, select org.eclipse.ui.ide.workbench.
Click on the Finish button.
In the Contents tab
For each of the following terms, click on Add…, type the term in the field,
then select all the items in the list and click on the Add button:
jdt
microej
egit
buildship
mpc
mylyn
org.eclipse.ui.ide.application
<plugin-name> (``my-branded-eclipse`` for the example values used previously)
Click on Add Required Plug-ins.
In the Configuration tab
Click on the Add Recommended… button.
Click on the OK button.
In the Launching tab
If you want to change the default name of the Eclipse launch executable (defaults to eclipse), set the Launcher Name field with the new name.
If you want to change the icon files of the Eclipse launch executable file,
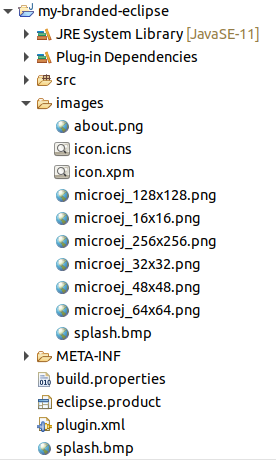
Copy the image file(s) of the IDE launcher in the images folder.
The image format depends on the Operating System:
icon.xpm for Linux
icon.icns for macOS
icon.ico file or icon.bmp files for Windows.
For Windows, if bmp files are used, it is required to provide one bmp file for each one of the following resolutions:
16x16 (8-bit), 16x16 (32-bit), 32x32 (8-bit), 32x32 (32-bit), 48x48 (8-bit), 48x48 (32-bit), 256x256 (32-bit).
Select the icon files for the targeted Operating Systems. Make sure the paths are the relative paths from the project root folder.
In the Splash tab
If you want to change the default splash screen displayed at startup,
Copy the image file of the splash screen at the root of the project. The following name and image types are supported:
splash.png
splash.jpg
splash.jpeg
splash.gif
splash.bmp
The recommended size for the splash screen is 455x295.
In the Plug-in field, click on the Browse… button.
Select the plugin of the project (my-branded-eclipse in our example).
If you want to change the splash screen behavior, adapt the other options in the Customization section to your need.
For example you may want to add a progress bar in the splash screen by checking the option Add a progress bar.
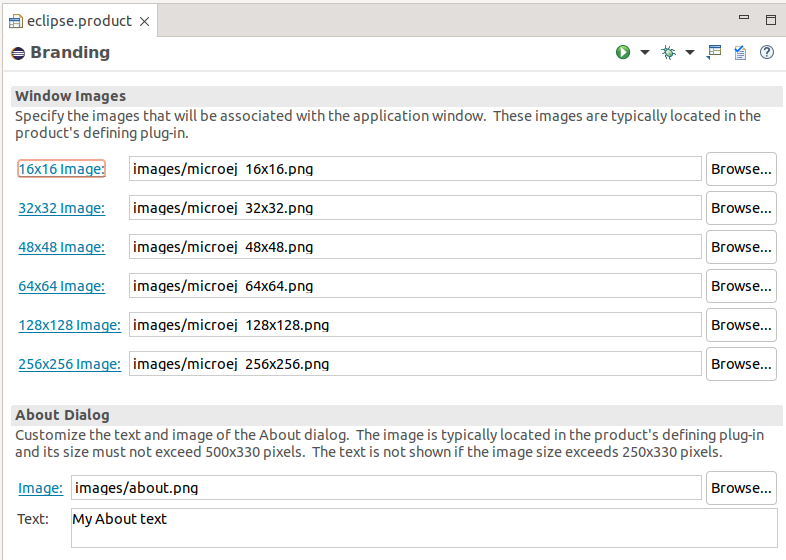
In the Branding tab (make sure the image paths are the relative paths from the project root folder)
If you want to change the default application window icon (visible in the Windows dock for example),
Copy the image files associated with the application window in the images folder.
The image format must be png, with one png file for each one of the following resolutions: 16x16, 32x32, 48x48, 64x64, 128x128, 256x256.
For each field in the Window Images section, select the corresponding image.
If you want to content of the About dialog (visible in Help > About…),
Copy the About dialog image in the images folder.
This image must be in png format and should not exceed 500x330.
In the About Dialog section, select the image and fill the text.
The text is not shown if the image exceeds 250x330.
Eclipse provides several other options to customize an Eclipse Product
that can be defined in the plugin_customization.ini file located at the root of the project.
Create this file if it does not exist in your project.
Then you can define any option, for example to set the default perspective to the Java perspective: