
Import a Project
This chapter explains how to import a project in an IDE.
In order to import an existing Gradle project in IntelliJ IDEA, follow the following steps:
If you are in the Welcome Screen, click on the Open button. Otherwise click either on File > Open… or on File > New > Project From Existing Sources….
Select the root directory of the project and click on the OK button.
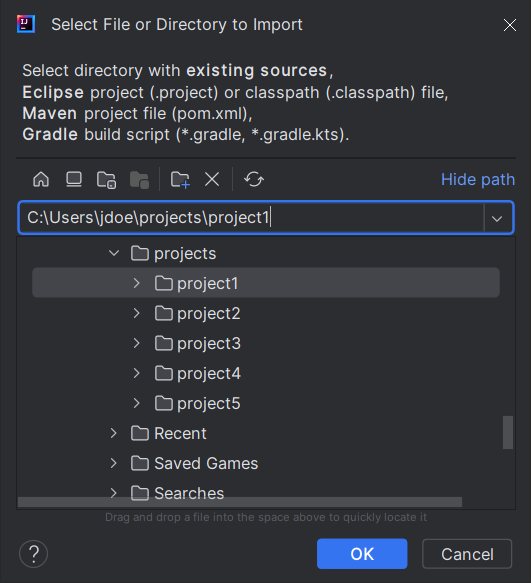
Project Import in IntelliJ IDEA
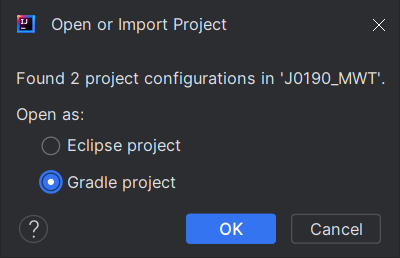
If you are asked to choose a project model, select Gradle.
|

|
| Fig 1. Project Model Selection when Opening in IntelliJ IDEA | Fig 2. Project Model Selection when Importing in IntelliJ IDEA |
Click on the Create button.
The Gradle project should now be opened in IntelliJ IDEA.
In order to import an existing Gradle project in Android Studio, follow the following steps:
If you are in the Welcome Screen, click on the Open button. Otherwise click either on File > Open… or on File > Import Project….
Select the root directory of the project and click on the OK button.
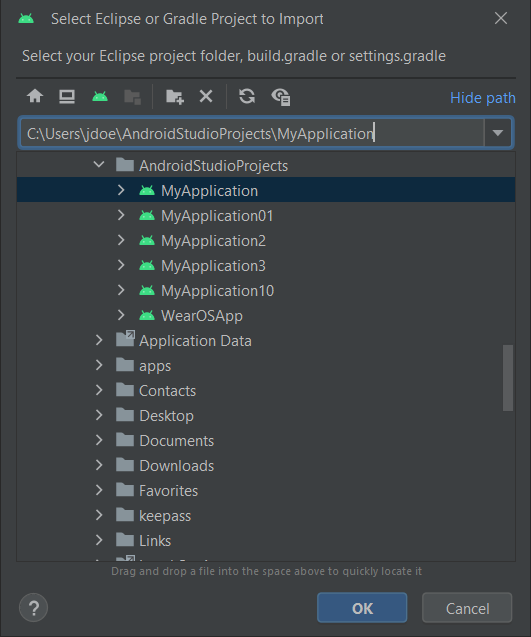
Project Import in Android Studio
The Gradle project should now be opened in Android Studio.
In order to import an existing Gradle project in Eclipse, follow these steps:
Click on File > Import….
Select the project type Gradle > Existing Gradle Project and click on the Next button.
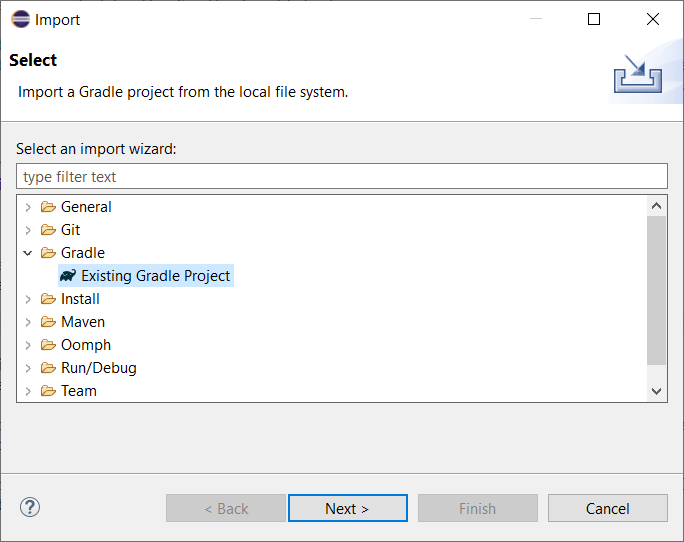
Project Type Selection in Eclipse
Select the root directory of the project.
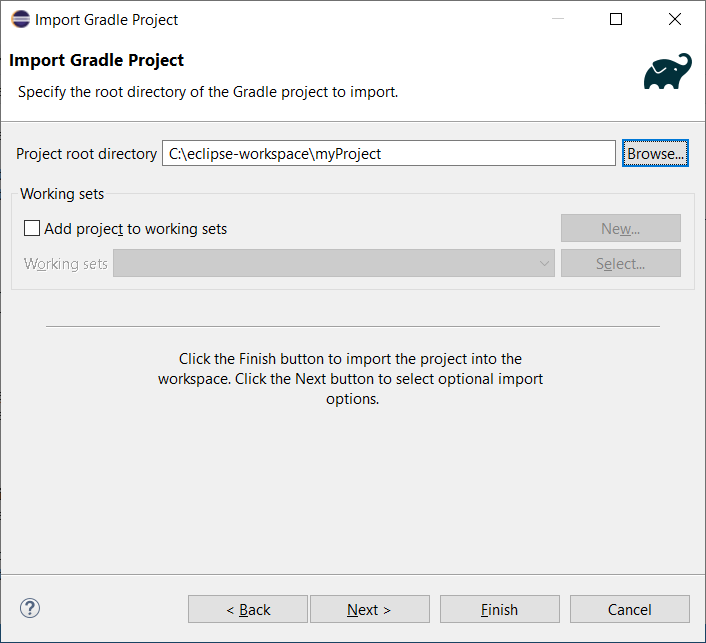
Project root folder in Eclipse
Click on the Next button and finally on the Finish button.
The Gradle project should now be opened in Eclipse.