
How To Create a Custom Configuration in the IDE
This chapter explains how to create a new Configuration in all the supported IDEs.
The creation of a new Configuration with IntelliJ IDEA / Android Studio is done as follows:
Click on Run > Edit Configurations….
Click on + and Select Gradle.
Fill the name of the new Configuration in the Name field.
Add a task and an option or a property if needed in the
Rundialog, for examplerunOnSimulator -Pdebug.mode=true.
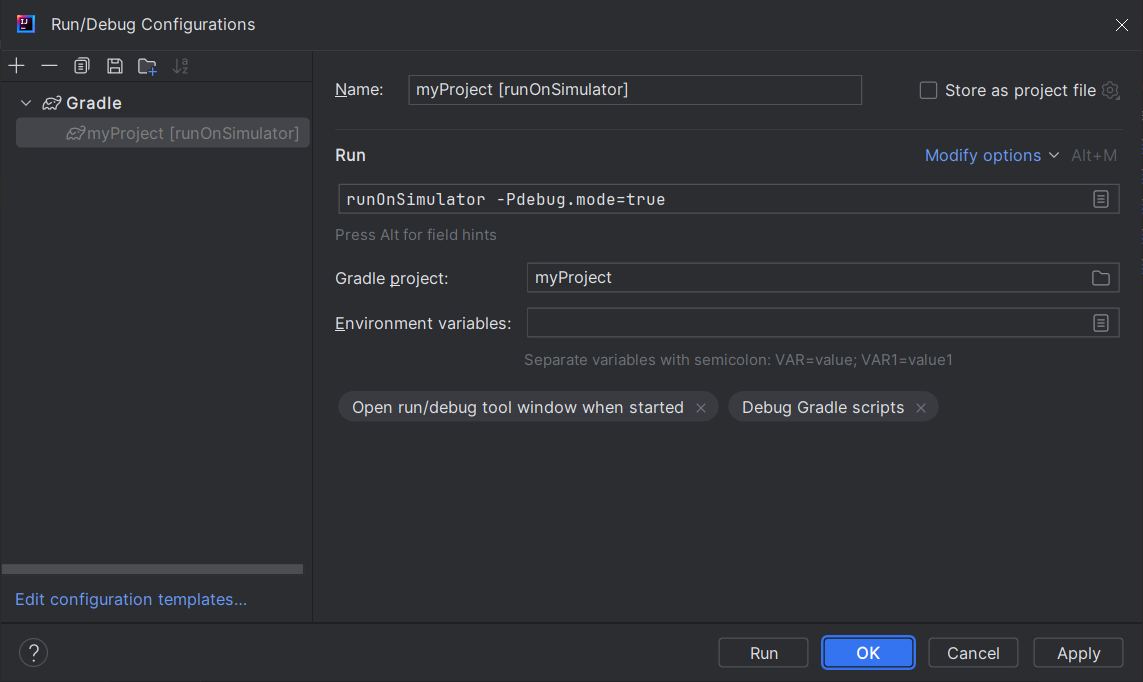
Configuration Creation in IntelliJ IDEA
Click on OK.
Select the newly created Configuration in the drop-down list in the Navigation bar and click on the run button to launch it.
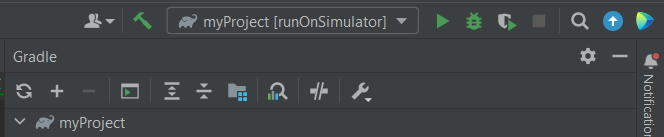
Navigation bar in IntelliJ IDEA
The Configuration can also be launched by double-clicking on it in the Gradle tasks view.
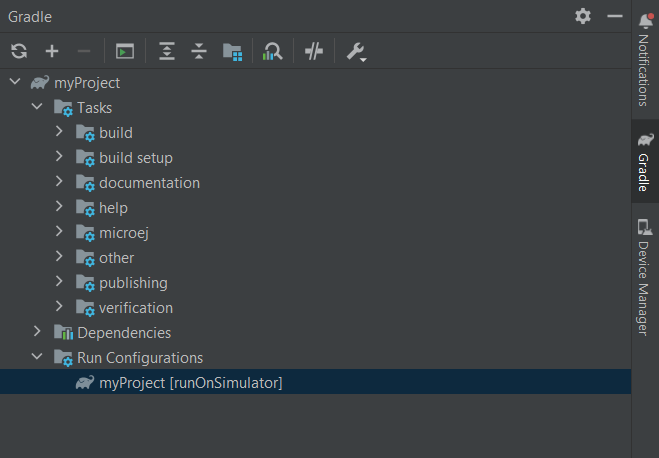
Gradle view in IntelliJ IDEA
The creation of a new Configuration with Eclipse is done as follows:
Click on Run > Run Configurations….
Right-click on Gradle Task and click on New Configuration.
Fill the name of the new Configuration in the Name field.
Add a task’s name in the
Gradle Taskstab, for examplerunOnSimulator.
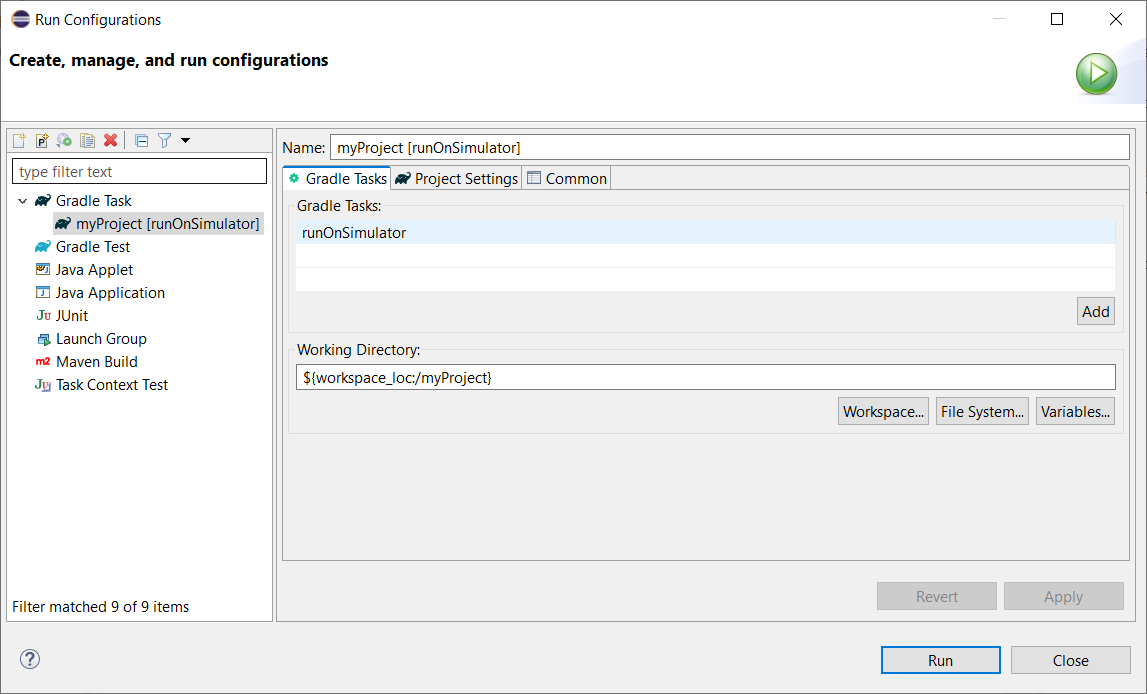
Configuration Gradle Tasks tab in Eclipse
Go to the
Project Settingstab.Check
Override project settings.Add an option or a property as a Program Argument if needed, for example
-Pdebug.mode=true.
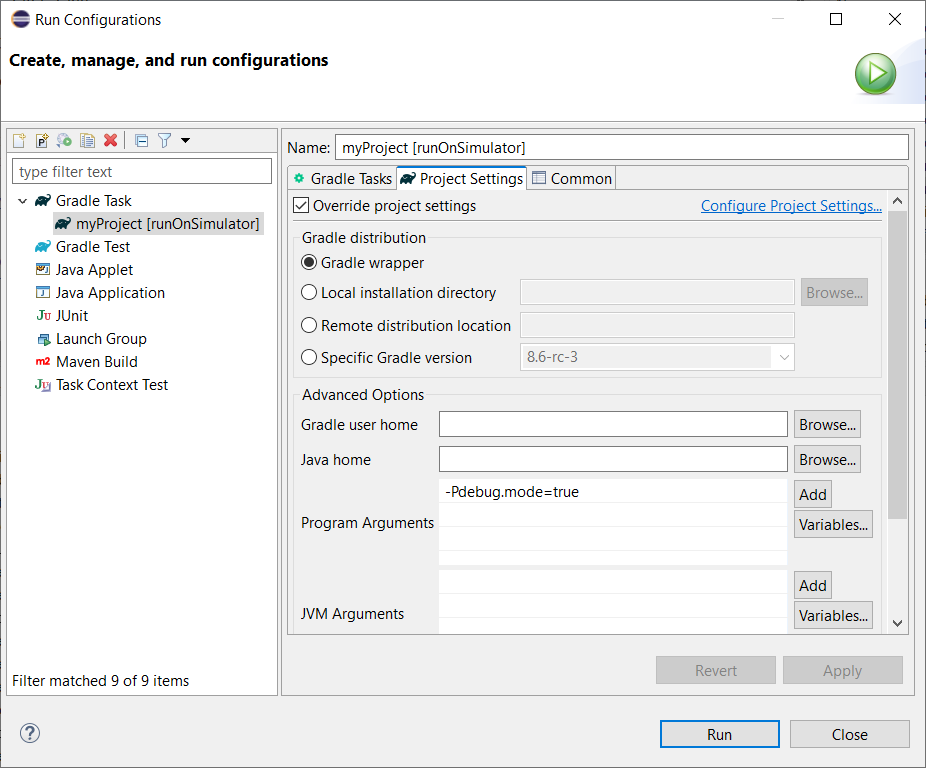
Configuration Project Settings tab in Eclipse
Warning
Some tasks require to define specific options to be executed. These options must be defined with the task’s name in the Gradle Tasks tab.
For example, to run the Local Deployment Socket, the execTool task and its options must be specified:
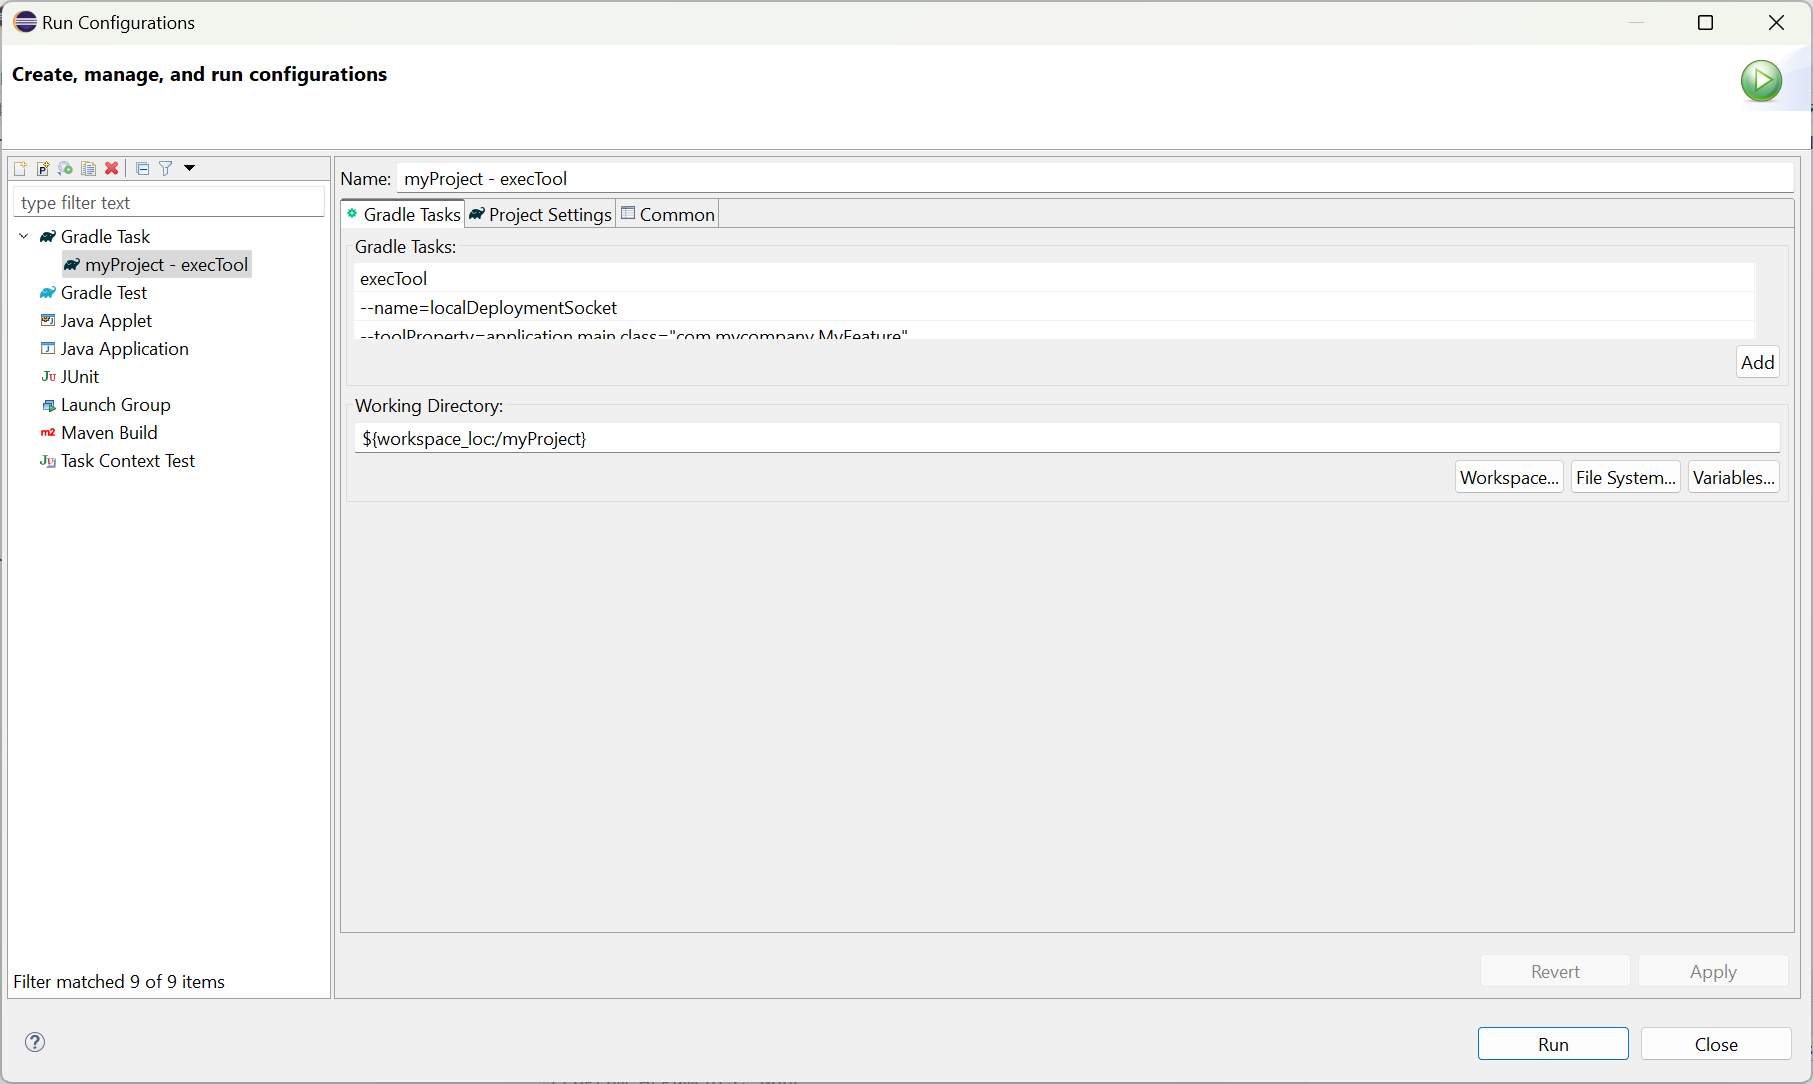
Configuration execTool Task tab in Eclipse
Click on Run to launch the Configuration.
The creation of a new Configuration with Visual Studio Code is done as follows:
In the Gradle tasks view, right-Click on the task for which you want to create a new Configuration.
Click on
Pin Task With Args.
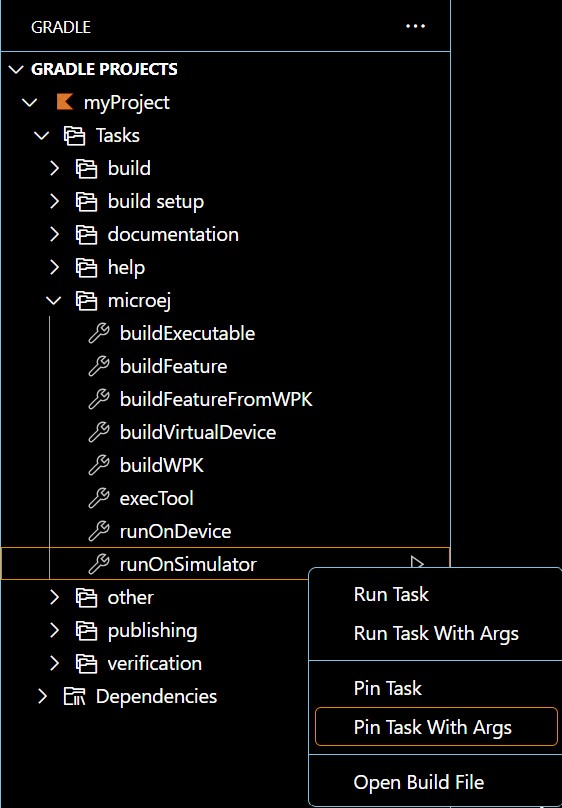
New Gradle Configuration in Visual Studio Code
Fill the option or property in the Search Bar and press
Enter.
Warning
All task options must be defined without quotes in Visual Studio Code. For example,
to run the Local Deployment Socket, the execTool task must be executed with the
--name=localDeploymentSocket option.
If quotes are used (--name="localDeploymentSocket"), Visual Studio Code does not correctly pass the option to Gradle and
the build fails with the following error:
> MicroEJ Tool '"localDeploymentSocket"' not found in <path\to\project>\build\vee\scripts\
Make sure that the correct MicroEJ VEE is selected.
The newly created Configuration is available in the Gradle tasks view.
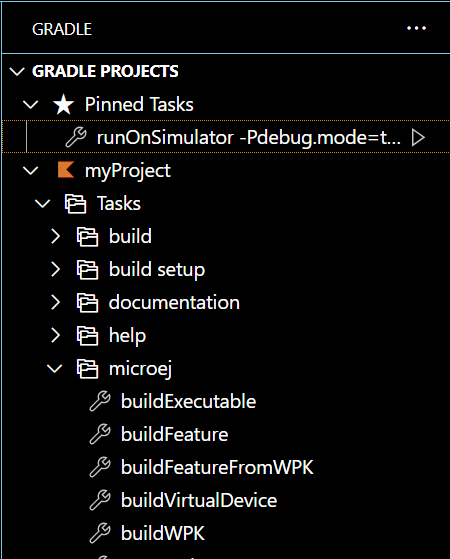
Pinned Configuration in Visual Studio Code