This Getting Started has been tested on Windows 10 & 11. Also note that examples used in this Getting Started could depend on older tools and libraries. Most notably our dependency manager plugin (using Gradle) could be an older version.
This Getting Started is separated in two main parts.
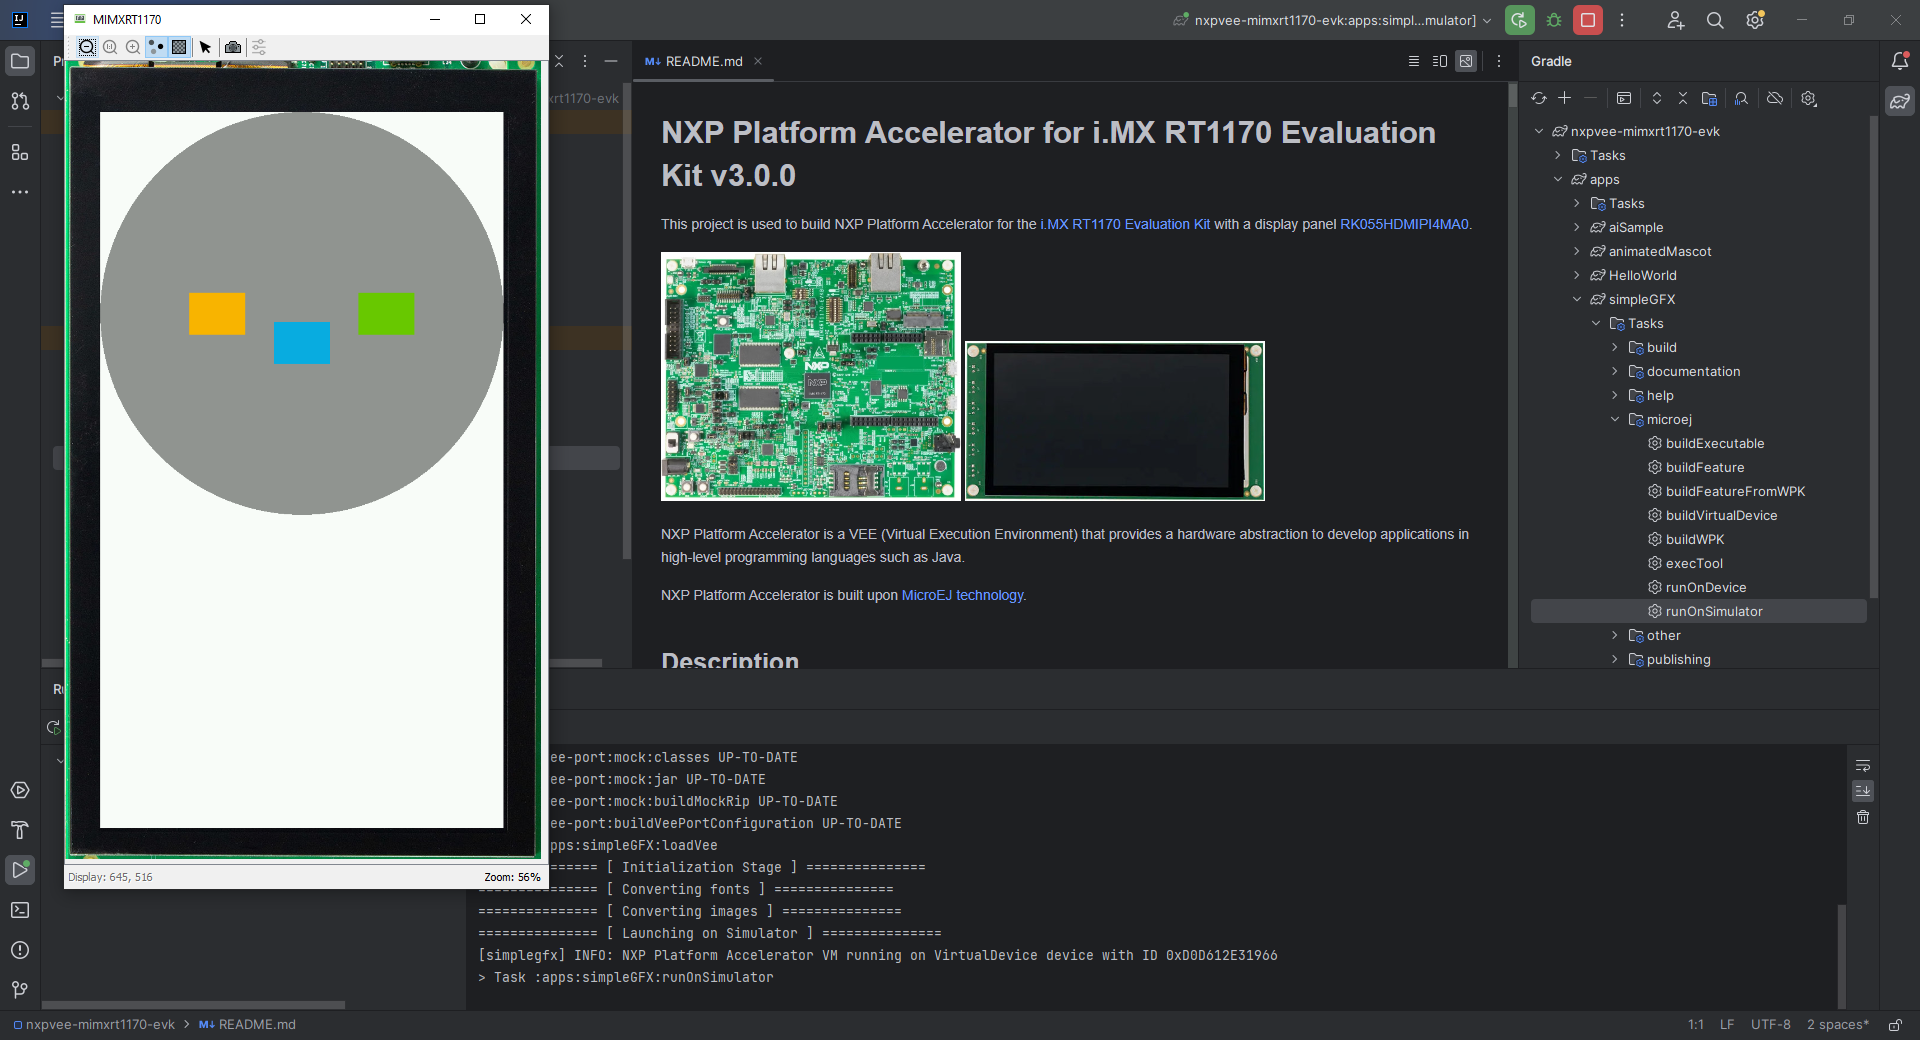
The first part consists of running a demo application on the Virtual Device. All you need is:
It contains the sources of the VEE Port which will be necessary to build and run applications on the simulator and on the device. The VEE Port also includes some applications samples which will be used in this Getting Started.
You can download the i.MX RT1170 VEE Port using the following commands:
The toolchain requires the path to the VEE Port sources to be as short as possible and contain no whitespace or non-ASCII character.
It is recommended to clone the repository as close as possible to your file system root.
Set up the i.MX RT1170 VEE Port project on your IDE
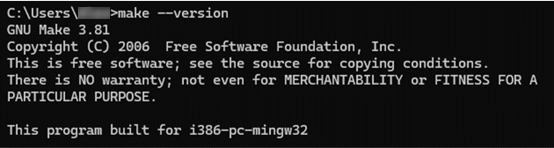
Make is the tool that will generate the Executable based on the files generated by CMake. It will also be used to flash the board.
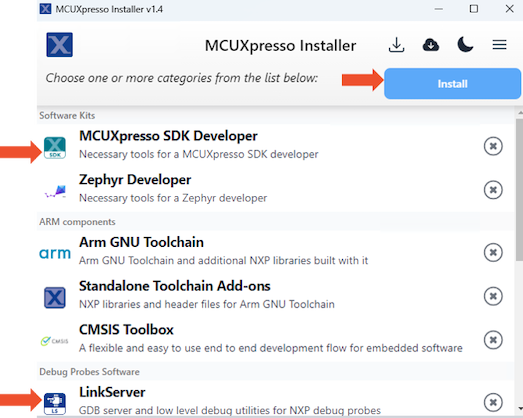
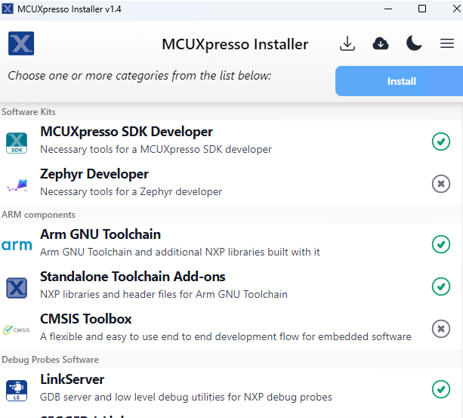
Under the Download section, you can select the Setup program for the complete package, except sources.
By default, it will automatically add Make to your path.
If not, you can manually add the GnuWin32\bin folder to your path.
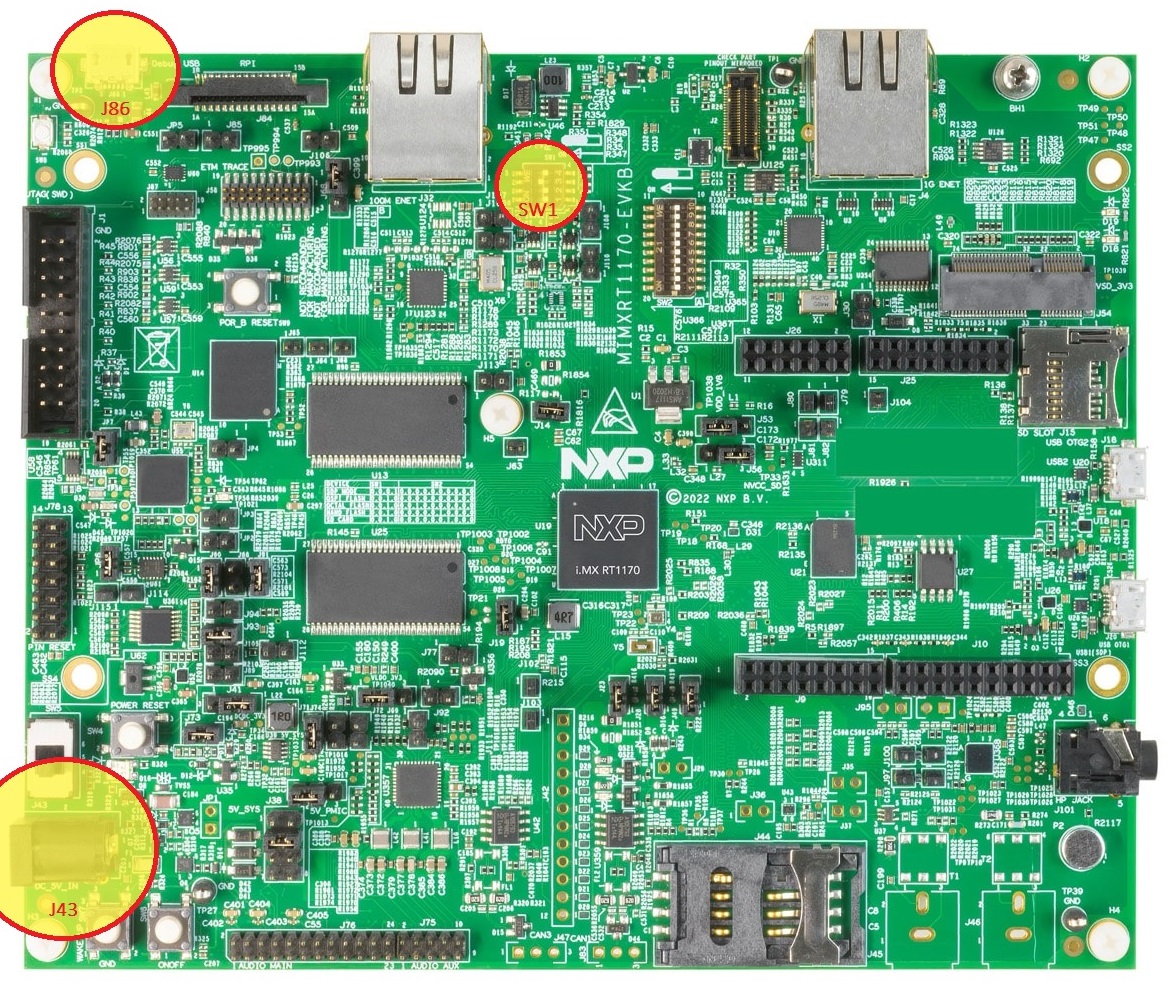
Check that the dip switches (SW1) are set to OFF, OFF, ON, and OFF.
Connect a micro-USB cable to J86 to power the board.
You can connect a 5V power supply to J43 if you need to use the display
The USB connection is used as a serial console for the SoC, as a CMSIS-DAP debugger, and as a power input for the board.
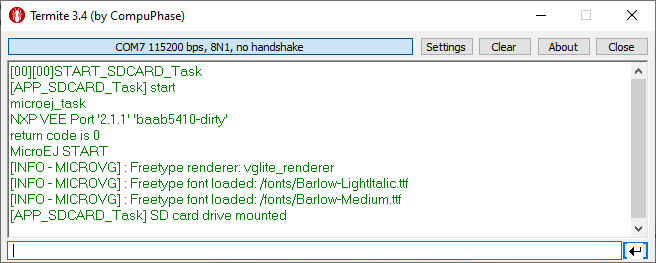
The VEE Port uses the virtual UART from the i.MX RT1170 EVKB USB port. A COM port is automatically mounted when the board is plugged into a computer using a USB cable. All board logs are available through this COM port.
The COM port uses the following parameters:
Baudrate
Data bits
Parity bits
Stop bits
Flow control
115200
8
None
1
None
You can have a look at your application logs with an RS232 Terminal (e.g. Termite).
Congratulations! You have finished setting up your environment. You are now ready to discover how to build and flash a MicroEJ application.
Build the Executable for i.MX RT1170 Evaluation Kit
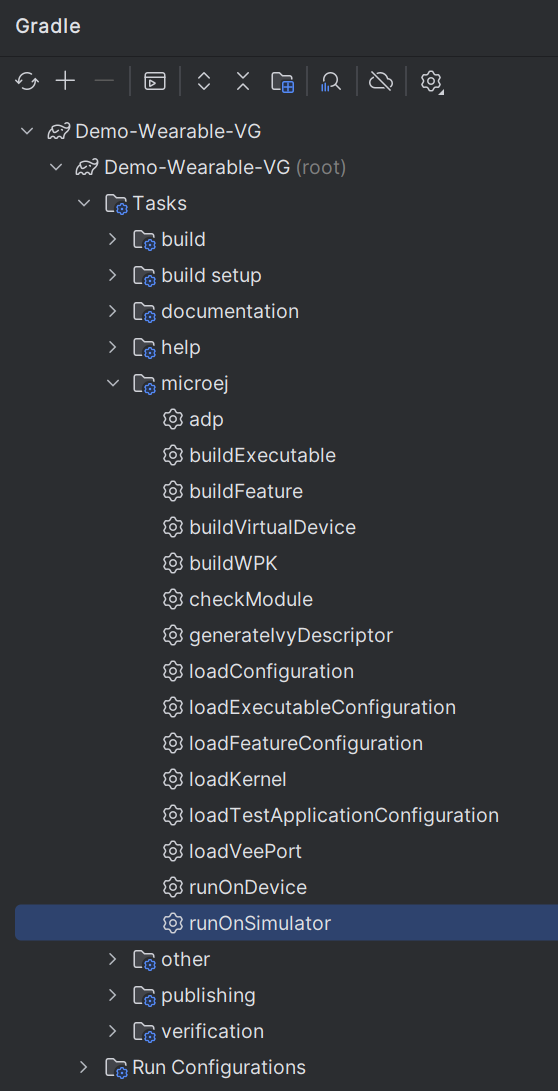
In order to build the Executable of the animatedMascot Application, the SDK provides the buildExecutable Gradle task.
Note
If you are using another IDE than IntelliJ IDEA, please have a look at Build an Executable section.
Come back to this page if you need to activate an Evaluation License.
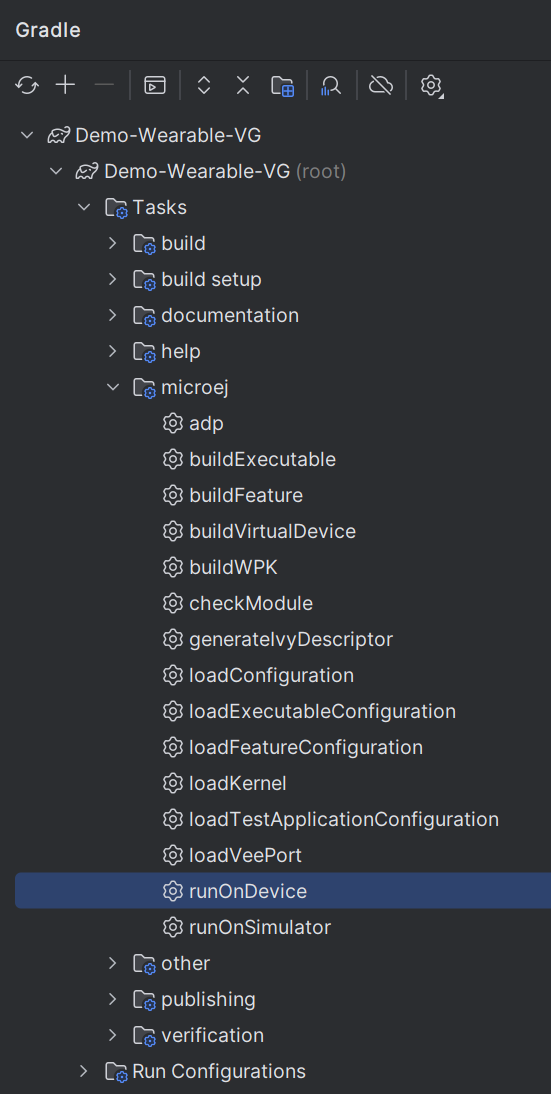
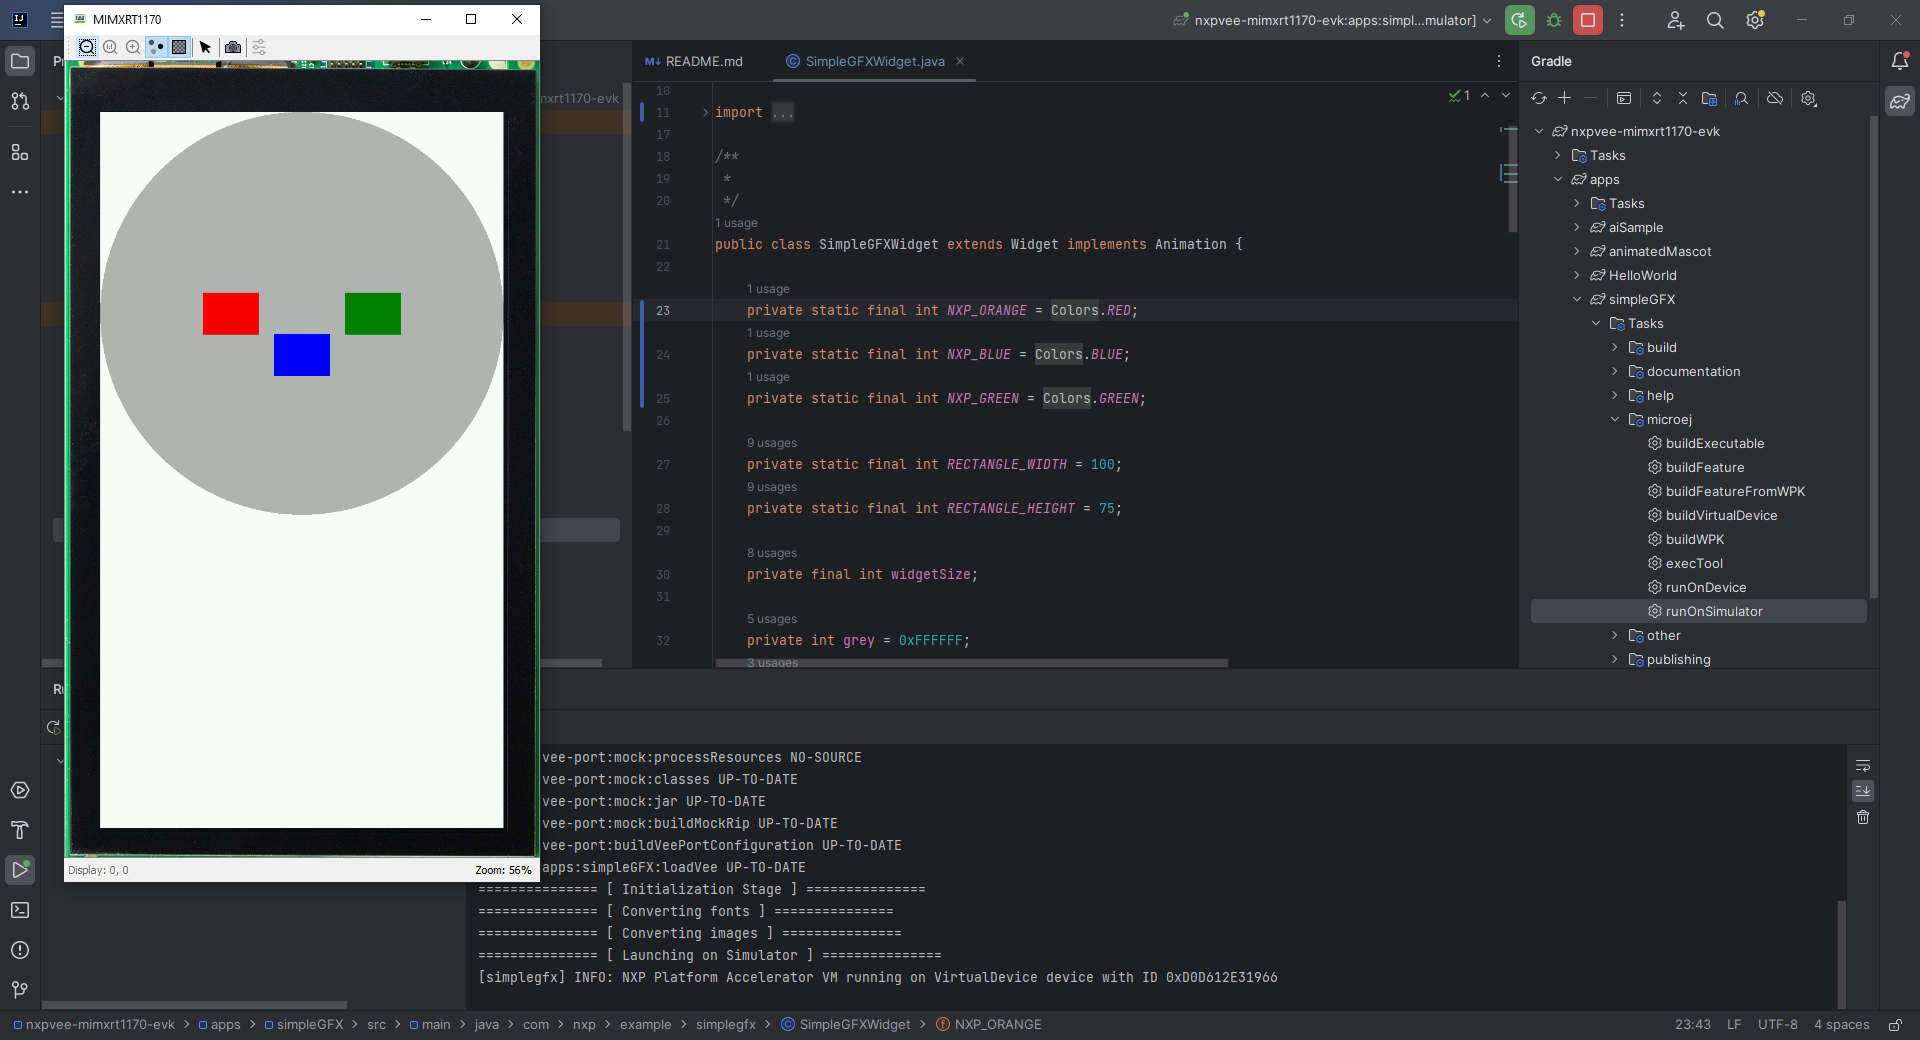
Double-click on the buildExecutable task in the Gradle tasks view.
The build stops with a failure.
Go to the top project in the console view and scroll up to get the following error message:
Copy the UID. It will be required to activate your Evaluation license.
Request your Evaluation License:
Request your Evaluation license by following the Request your Activation Key instructions. You will be asked to fill the machine UID field with the UID you copied before.
When you have received your activation key by email, drop it in the license directory by following the Install the License Key instructions (drop the license key zip file to the ~/.microej/licenses/ directory).
Now your Evaluation license is installed, you can relaunch your application build by double-clicking on the buildExecutable task in the Gradle tasks view. It may take some time.
The Gradle task deploys the Application in the BSP and then builds the BSP using Make.
The animatedMascot application is built and ready to be flashed on i.MX RT1170 Evaluation Kit once the hardware setup is completed.
Flash the Application on the i.MX RT1170 Evaluation Kit
In order to flash the animatedMascot Application on i.MX RT1170 Evaluation Kit, the application provides the runOnDevice Gradle task.
Note
If you are using another IDE than IntelliJ IDEA, please have a look at Run on Device section.
Double-click on the runOnDevice task in the Gradle tasks view. It may take some time.
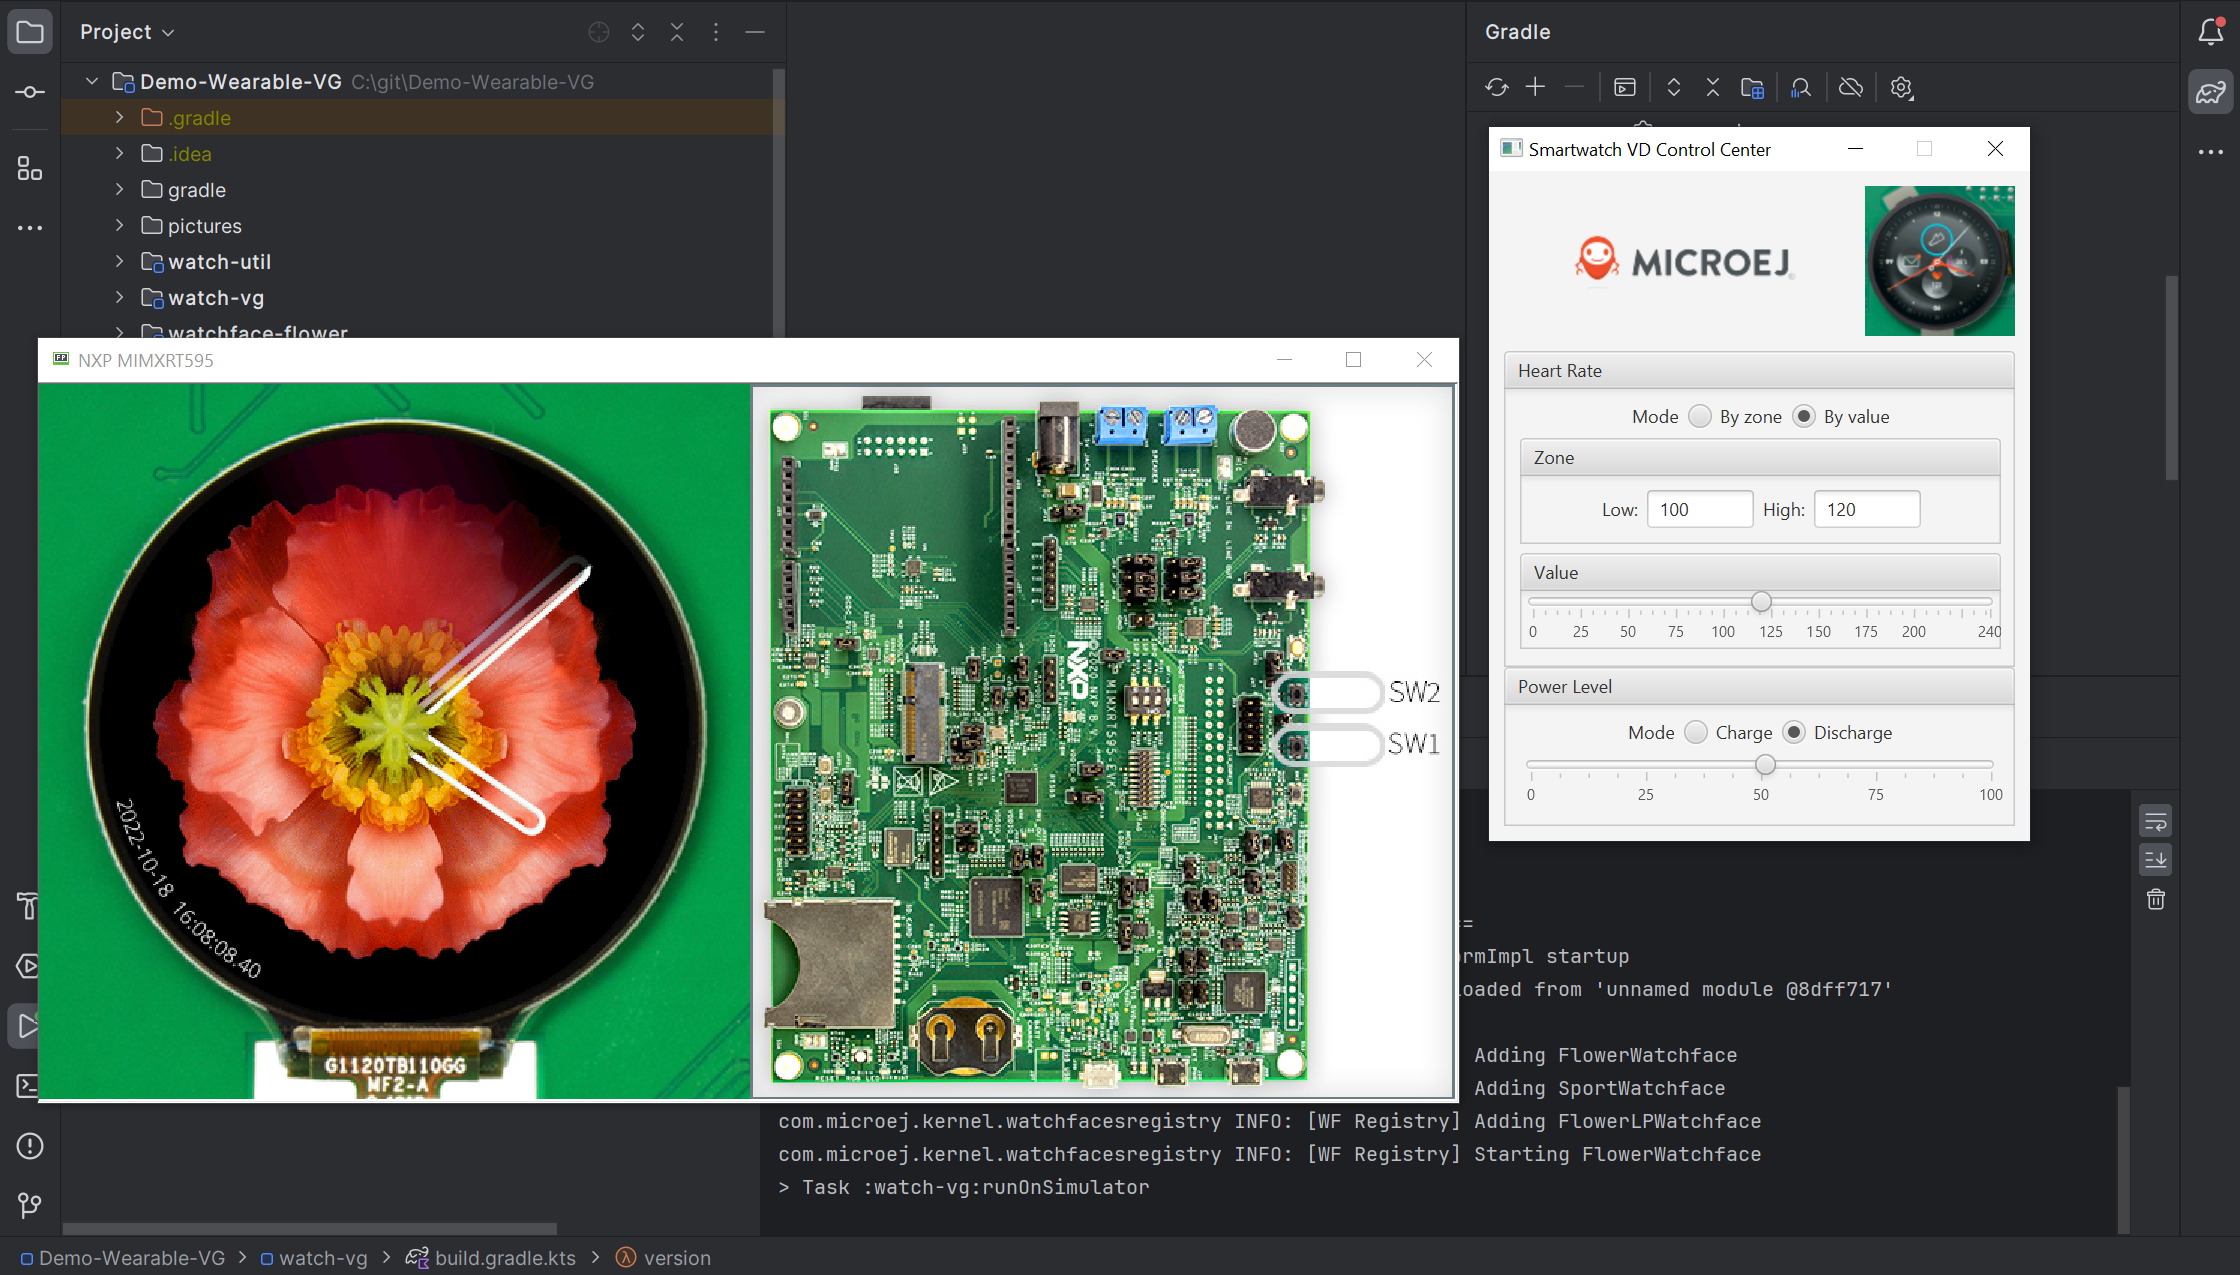
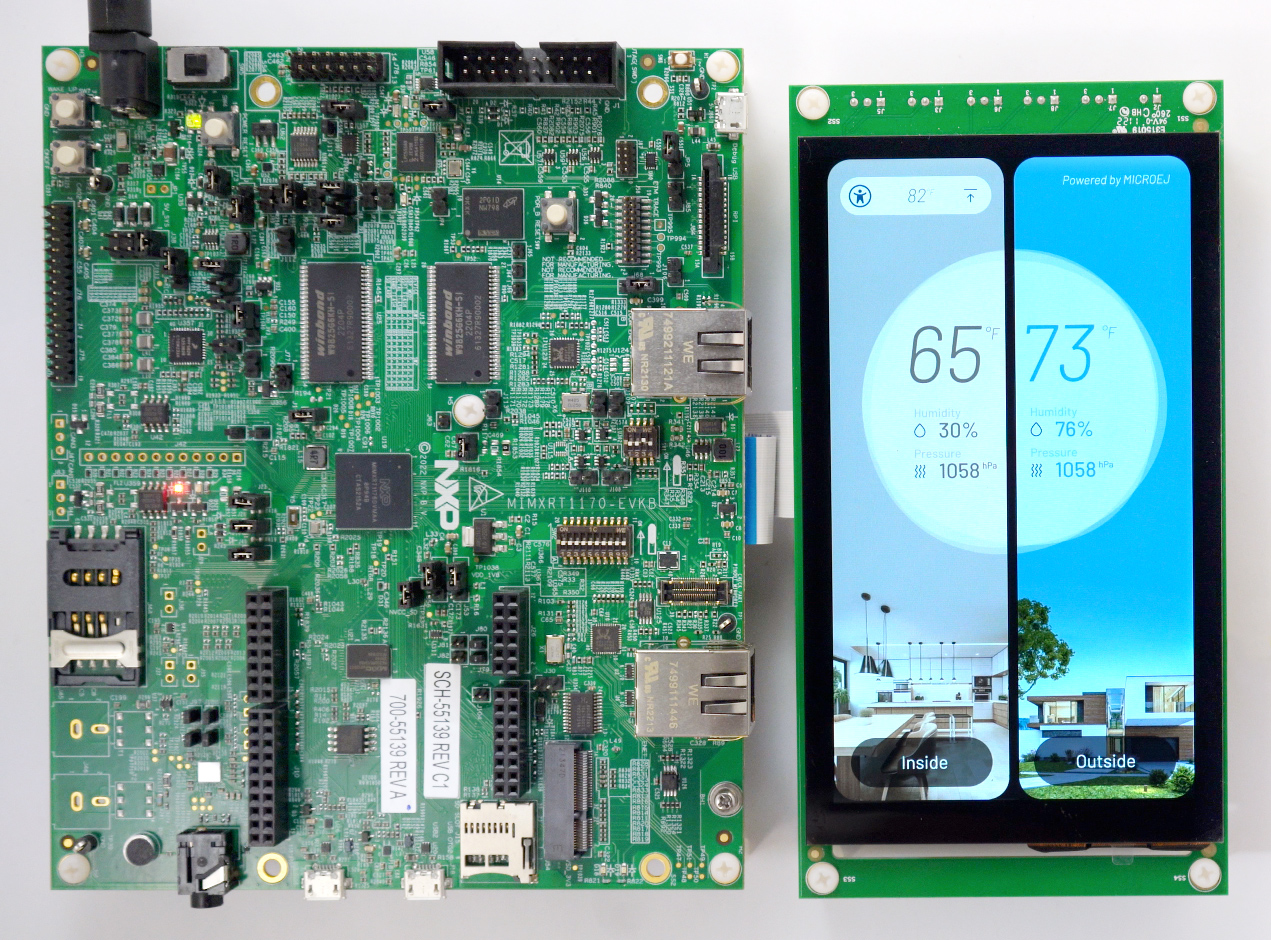
Once the firmware is flashed, you should see the animatedMascot running on your board.
Fig 1. The Application running on the i.MXRT1170 Evaluation Kit
If you are an embedded engineer, you could look at our VEE port examples at GitHub. And to learn how to create custom VEE Ports, you can read our VEE Porting Guide.
You can also follow the Kernel Developer Guide for more information on our multi-application framework or read about our powerful wearable solution called VEE Wear.
Last but not least, you can choose to learn about specific topics by following one of our many Training Courses ranging from how to easily debug applications to setting up a Continuous Integration process and a lot of things in between.