
Front Panel Tips
The following sections provides a non-exhaustive list of tips to make the best use of the Front Panel for Application developers.
Pixel Accurate Display: Window scaling
The Front Panel Display is designed for a pixel-accurate simulation of the GUI application. It uses MicroUI’s Graphics Engine, not the system native engine. Therefore, the Front Panel does not support scaling of the window. For accurate graphics, the window must not be resized by the system or the application that launched the simulation (typically the IDE). Here are several distinct solutions:
In Windows settings, if the Display is scaled, the application can be launched with the property sun.java2d.uiScale set to 1.
It will force the Front Panel to be displayed at 100% instead of the selected value in the Windows Display settings.
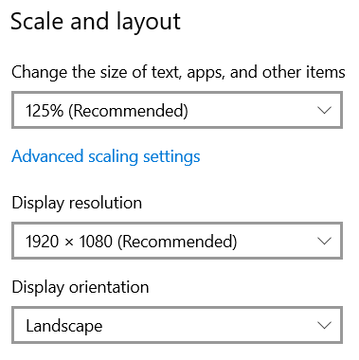
Windows Display “Scale & Layout” settings
Override the application auto scaling with the system’s in Windows Explorer:
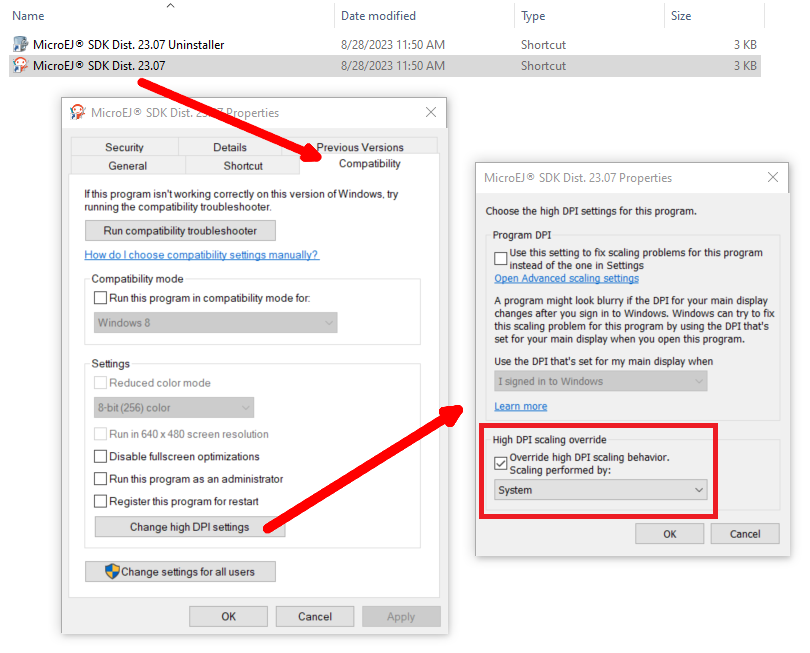
Windows Application “High DPI scaling override” setting
On Windows, set your Display settings to 100%:
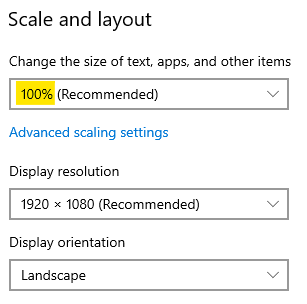
Windows Display “Scale & Layout” settings
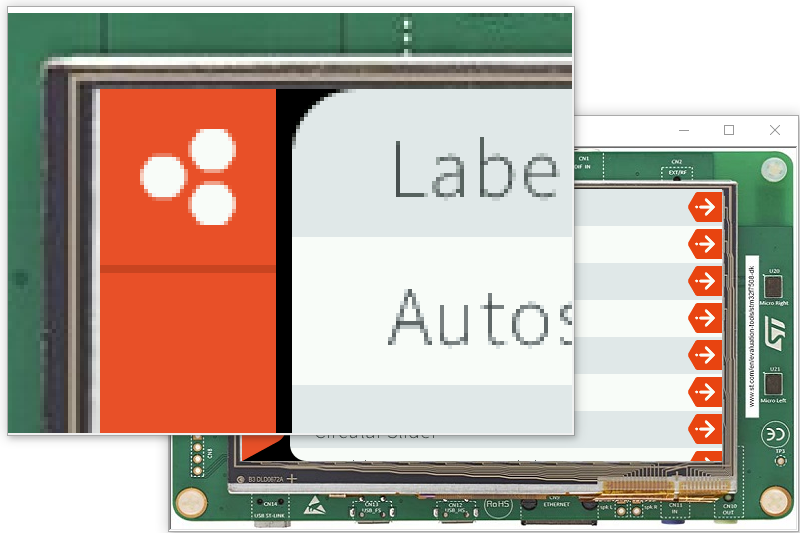
Zoom on pixelated view for checking custom drawings
Assuming a pixel accurate simulated display (see Window scaling), use a screen magnifier tool to zoom on portions of the GUI. It is especially useful to check custom drawings as well as Fonts & Images. Also, make sure the tool does not apply a filter to smooth when scaling.

Take screenshots of the simulated display
An alternative is to make a screenshot and zooming with an image viewer/editor. For that:
Use Display Screenshot button (available since UI Pack 14.3.0).
Use a screenshot tool.
Programmatically extend the Front Panel with:
// Use ej.fp.widget package to access ej.fp.widget.Display.visibleBuffer
package ej.fp.widget;

import java.awt.Graphics;
import java.awt.Image;
import java.awt.Toolkit;
import java.awt.datatransfer.DataFlavor;
import java.awt.datatransfer.Transferable;
import java.awt.datatransfer.UnsupportedFlavorException;
import java.awt.image.BufferedImage;
import java.io.IOException;

import ej.fp.Device;
import ej.fp.widget.Button.ButtonListener;

public class SceenshotOnClick implements ButtonListener {

    @Override
    public void press(Button widget) {
        copyImageToClipboard(copyToType(takeScreenshot(), BufferedImage.TYPE_INT_RGB));
        System.out.println("Screenshot copied to clipboard");
    }

    @Override
    public void release(Button widget) {
        // do nothing
    }

    private static BufferedImage takeScreenshot() {
        Display display = Device.getDevice().getWidget(Display.class, null);
        return (BufferedImage) display.visibleBuffer.getRAWImage();
    }

    private static Image copyToType(BufferedImage src, int imageType) {
        BufferedImage dst = new BufferedImage(src.getWidth(), src.getHeight(), imageType);
        Graphics g = dst.createGraphics();
        g.drawImage(src, 0, 0, null);
        g.dispose();
        return dst;
    }

    private static void copyImageToClipboard(Image image) {
        Toolkit.getDefaultToolkit().getSystemClipboard().setContents(new Transferable() {

            @Override
            public boolean isDataFlavorSupported(DataFlavor flavor) {
                return DataFlavor.imageFlavor.equals(flavor);
            }

            @Override
            public DataFlavor[] getTransferDataFlavors() {
                return new DataFlavor[] { DataFlavor.imageFlavor };
            }

            @Override
            public Object getTransferData(DataFlavor flavor) throws UnsupportedFlavorException, IOException {
                if (!DataFlavor.imageFlavor.equals(flavor)) {
                    throw new UnsupportedFlavorException(flavor);
                }
                return image;
            }

        }, null);
    }

}
Visual Testing
Such screenshots simplifies visual testing. The screenshot can be compared against a made-up image from design specification (typically exported from design tools), or against another screenshot taken from a different version of the application. To go further (and possibly automate such tests), use tools like ImageMagick:

$ compare before.png after.png compare.png
Compare screenshots with Figma frames
In Figma, frames can be easily exported to PNG images. But it may need more processing before the comparison with the screenshot. First (optional), within Figma, enable Pixel Preview (View > Pixel Preview (Ctrl+Shift+P)):
Then, if the exported frame does not contain only the display, the image can be cropped with:
$ convert figma.png -crop 480x480+45+45 figma-cropped.png
Then, if the MicroUI bpp setting is not RGB888, the image can be filtered to match the supported colors.
For example, for bpp=RGB565, apply the following filter:
$ convert figma.png -channel red,blue -evaluate AND 63743 -channel green -evaluate AND 64767 figma-rgb565.png
Keep the Front Panel always on top
To keep the Front Panel visible while developing the application, use multiple displays and/or use tools like Microsoft PowerToys’ Always on Top utility.