Internationalization
Using PO Files
PO files are a good way to handle Internationalization.
Documentation is available here.
In this example, let’s create two PO files for two different languages(English and Portuguese) and add them to resources/nls.
Labels_en_US.po:msgid "" msgstr "" "Language: en_US\n" "Language-Team: English\n" "MIME-Version: 1.0\n" "Content-Type: text/plain; charset=UTF-8\n" msgid "Label1" msgstr "My label 1" msgid "Label2" msgstr "My label 2"
Labels_pt_BR.po:msgid "" msgstr "" "Language: pt_BR\n" "Language-Team: Portuguese\n" "MIME-Version: 1.0\n" "Content-Type: text/plain; charset=UTF-8\n" msgid "Label1" msgstr "Minha label 1" msgid "Label2" msgstr "Minha label 2"
These PO files have to be converted to be usable by the application.
In order to let the build system know which PO files to process, they must be referenced in MicroEJ Classpath using a
myapp.nls.listfile.
Configuring NLS in MicroEJ
First add those two dependencies to the module.ivy of your projet:
<dependency org="ej.library.runtime" name="nls" rev="4.0.0"/>
<dependency org="com.microej.library.runtime" name="binary-nls" rev="3.0.0"/>
Then, let’s create a
myapp.nls.listfile, and put it in the src/main/resources/list folder. The file looks like this:com.mycompany.myapp.generated.Labels
Note
For each line, PO files whose name starts with the interface name (
Labelsin the example) are retrieved from the MicroEJ Classpath and used to generate:- a Java interface with the given fully qualified name, containing a field for each
msgidof the PO files. - a NLS binary file containing the translations.
- a Java interface with the given fully qualified name, containing a field for each
Usage
Import the interface set in the
myapp.nls.listfile:import com.mycompany.myapp.generated.Labels;
Print the available locales:
for (String locale : Labels.NLS.getAvailableLocales()) {
    System.out.println(locale);
}
Print the current locale:
System.out.println(Labels.NLS.getCurrentLocale());
Change the current locale:
Labels.NLS.setCurrentLocale("pt_BR");
Finally, put a message from NLS in a label. The code looks like this:
public static void main(String[] args) {
    MicroUI.start();
    Desktop desktop = new Desktop();
    Labels.NLS.setCurrentLocale("pt_BR");
    // For english locale uncomment the line below and comment the pt_BR locale setter call.
    // Labels.NLS.setCurrentLocale("en_US");
    Label label = new Label(Labels.NLS.getMessage(Labels.Label1));
    desktop.setWidget(label);
    desktop.requestShow();
}
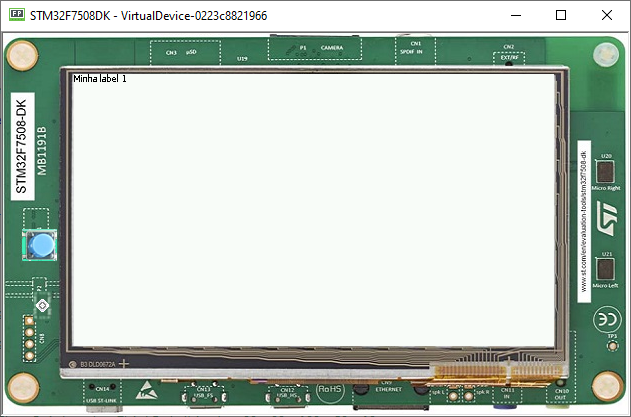
The result looks like this:

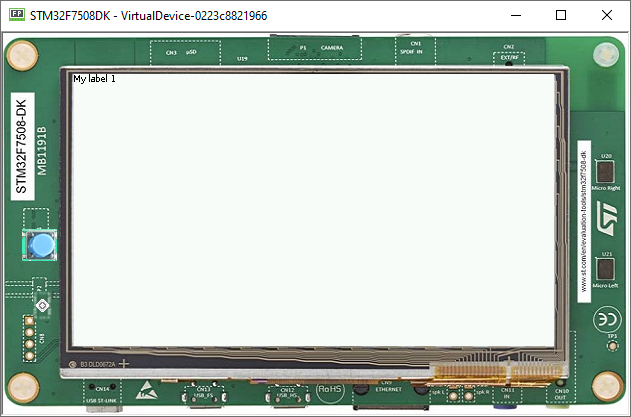
Setting the locale to “en_US” the result is as follows:

Loading Translations as an External Resource
When building the Application or running it on Simulator, the Resource Buffer Generator is executed.
A resource containing translations is generated. This resource can be loaded as external resource in order to be loaded from an external memory (e.g. from a FileSystem).
Note
This mode requires to setup the External Resources Loader in the VEE Port.
Follow the steps below to declare translations as external resources:
Add a
myapp.nls.externresources.listfile in the src/main/resources/list folder,Add the following path inside the file:
/com/mycompany/myapp/generated/Labels.nls
This path can be found in
src-adpgenerated/binarynls/java/com/mycompany/myapp/generated/Labels.nls.resources.listBuild the application for the target,
Open the
SOAR.mapfile to check that the resource is not embedded anymore in the application binary. Thexxx_Labels.nlsline should not appear anymore in theApplicationResourcessection.The resource containing translations is now located in the
com.mycompany.myapp.Main/externalResourcesfolder. This resource must be embedded on the target and loaded using the External Resources Loader.
A simple implementation of the External Resources Loader is available on GitHub: Example-ExternalResourceLoader.
