
Warning
This documentation is for SDK 5. The latest major version is SDK 6. SDK 5 is in maintenance mode since the release of SDK 5.8.0. Consequently, as stated in the SDK End User License Agreement (EULA), the SDK will reach the end of its life by July 2028. Contact our support team for assistance with migrating to the new SDK, or your sales representative if you require an extension of SDK maintenance as a service.
Build and Run an Application
Create a MicroEJ Standalone Application
Note
This section is releated to the version 5 and lower of the SDK. If you use the SDK 6, please refer to the page Create a Project.
Create a project in your workspace. Select File > New > Standalone Application Project.
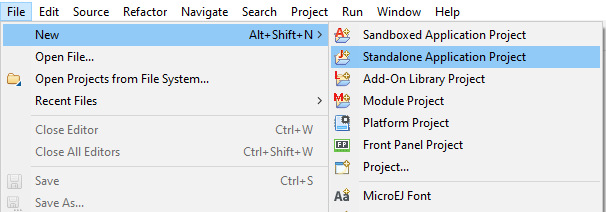
New MicroEJ Standalone Application Project
Fill in the Application template fields, the project name field will automatically duplicate in the following fields. For this tutorial, the project name is
hello. Click on Finish. A template project is automatically created and ready to use, this project already contains all folders wherein developers need to put content:src/main/java: Folder for future sourcessrc/main/resources: Folder for future resources (raw resources, images, fonts, nls)module.ivy: Module description file, dependencies description for the current project
A
Mainclass already exists in the packagecom.mycompanyand prints “Hello World!” :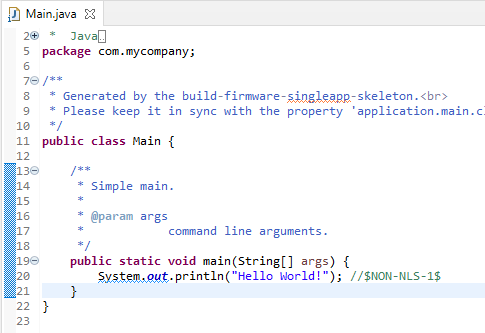
MicroEJ Application Content
The main Application is now ready to be executed. See next sections.
Run on the Simulator
Note
This section is releated to the version 5 and lower of the SDK. If you use the SDK 6, please refer to the page Run on Simulator.
Note
A Platform must have been imported to run the Application. If several Platforms have been imported, the target Platform can be selected in the Launcher’s Execution tab.
To run the sample project on Simulator, select it in the left panel then right-click and select Run > Run as > MicroEJ Application.
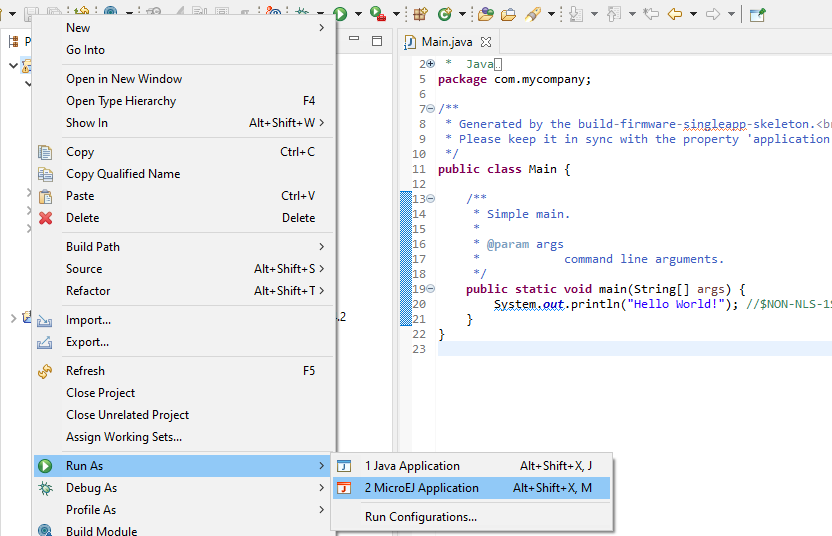
MicroEJ Launcher Shortcut
MicroEJ SDK console will display Launch steps messages.
=============== [ Initialization Stage ] ===============
=============== [ Launching on Simulator ] ===============
Hello World!
=============== [ Completed Successfully ] ===============

SUCCESS
Run on the Device
Build the Application
Open the run dialog (Run > Run Configurations…).
Select the MicroEJ Application > Hello Main that is created by the previous chapter.
Open Execution tab and select Execute on Device.
Set Settings checkbox to Build & Deploy.
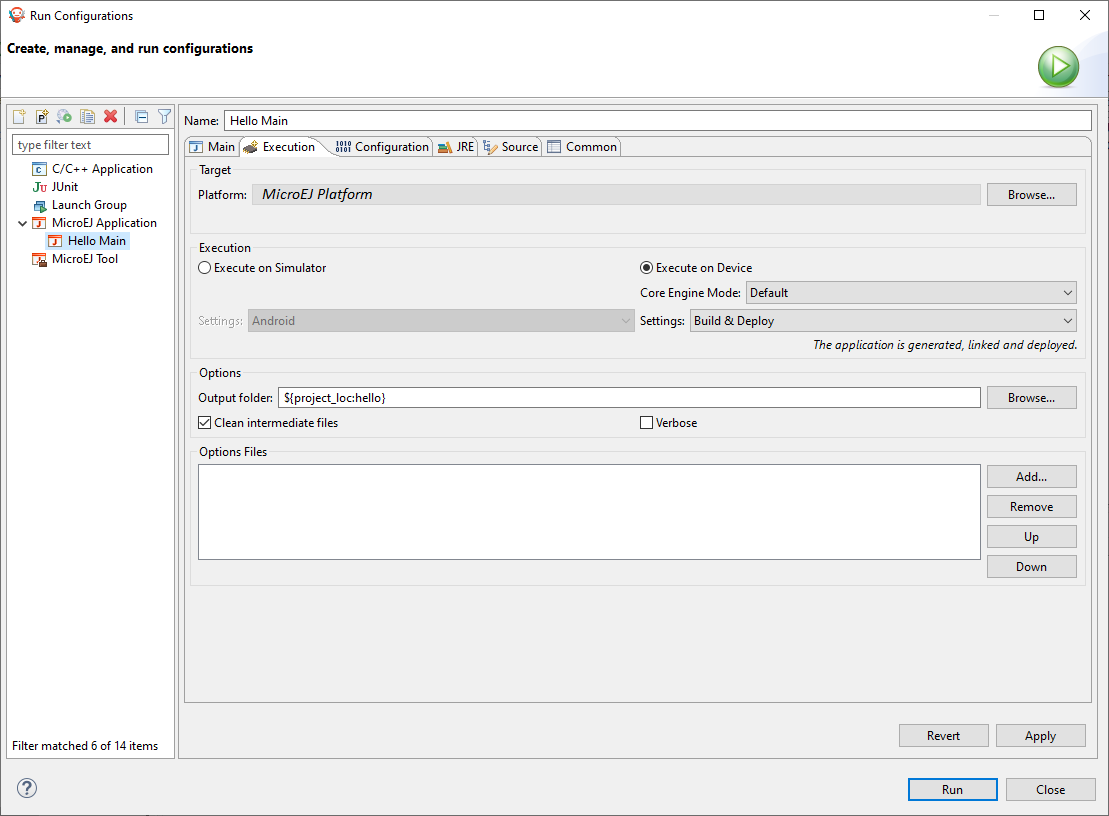
Execution on Device
Click Run : The Application is compiled and the Application, the runtime library and the header files are automatically deployed to the locations defined in your Platform BSP connection settings.
=============== [ Deployment ] ===============
MicroEJ files for the 3rd-party BSP project are generated to '<application-project>/<fully-qualified-name-of-main-class>/platform'.
The MicroEJ application (microejapp.o) has been deployed to: '<path-to-deployment-location>'.
The MicroEJ platform library (microejruntime.a) has been deployed to: '<path-to-deployment-location>'.
The MicroEJ platform header files (*.h) have been deployed to: '<path-to-deployment-location>'.
=============== [ Completed Successfully ] ===============

SUCCESS
Build the Executable File
If your Platform has configured a build script file, the final Application linking can be triggered from the launcher:
Open Configuration tab and select Device > Deploy. The options to deploy the Application, runtime library and header files have already been set in the previous step.
Check Execute the MicroEJ build script (build.bat) at a location known by the 3rd-party BSP project.

BSP Connection Application Options
Note
The table MicroEJ Application Options for BSP Connection specifies the Application options that can be set depending on the BSP connection configured by the Platform.
Click Apply and Run : the final executable application.out file is generated in the directory from where the script has been executed and can now be deployed on your Device using the appropriate flash tool.